Creative Child Photoshoots In Gloucestershire For Children Who Hate Posing
Behind The Scenes Of How I Plan & Create My Cinematic, SEN Friendly Photography Sessions
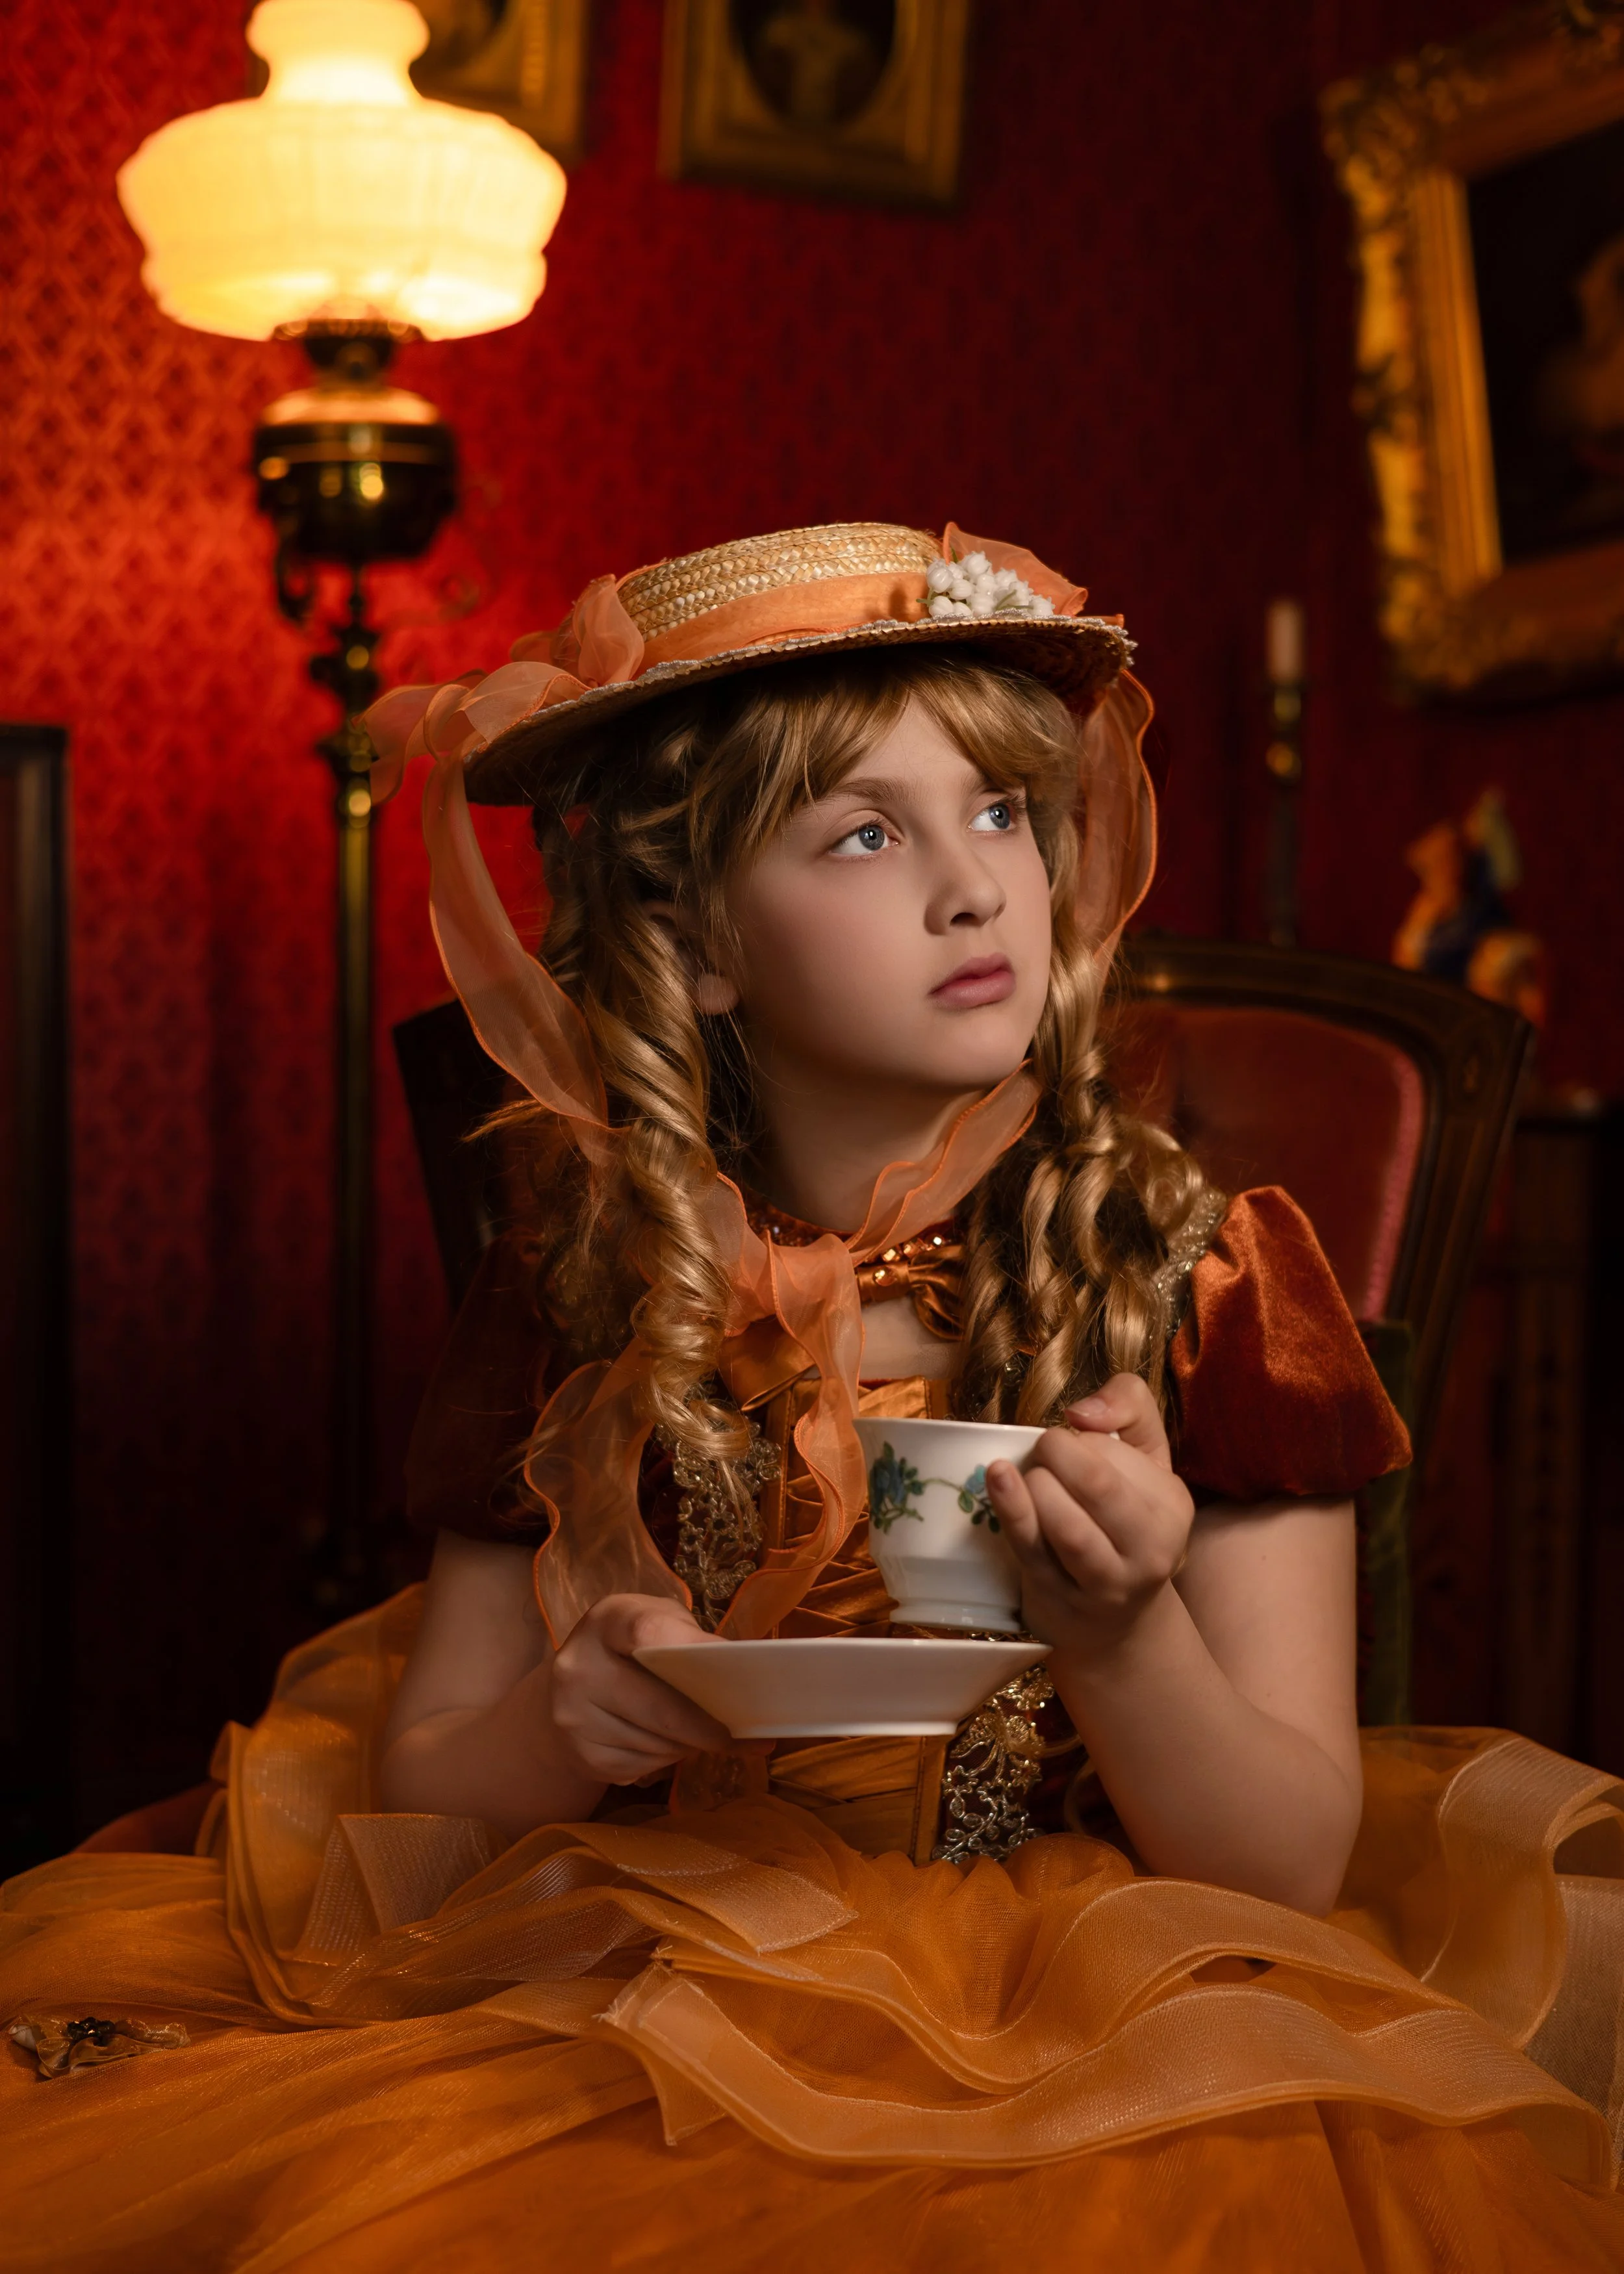
When people first see my images, they often assume the children must have been heavily posed or carefully directed to create such cinematic portraits.
But honestly, most of the time, they aren’t posed at all.
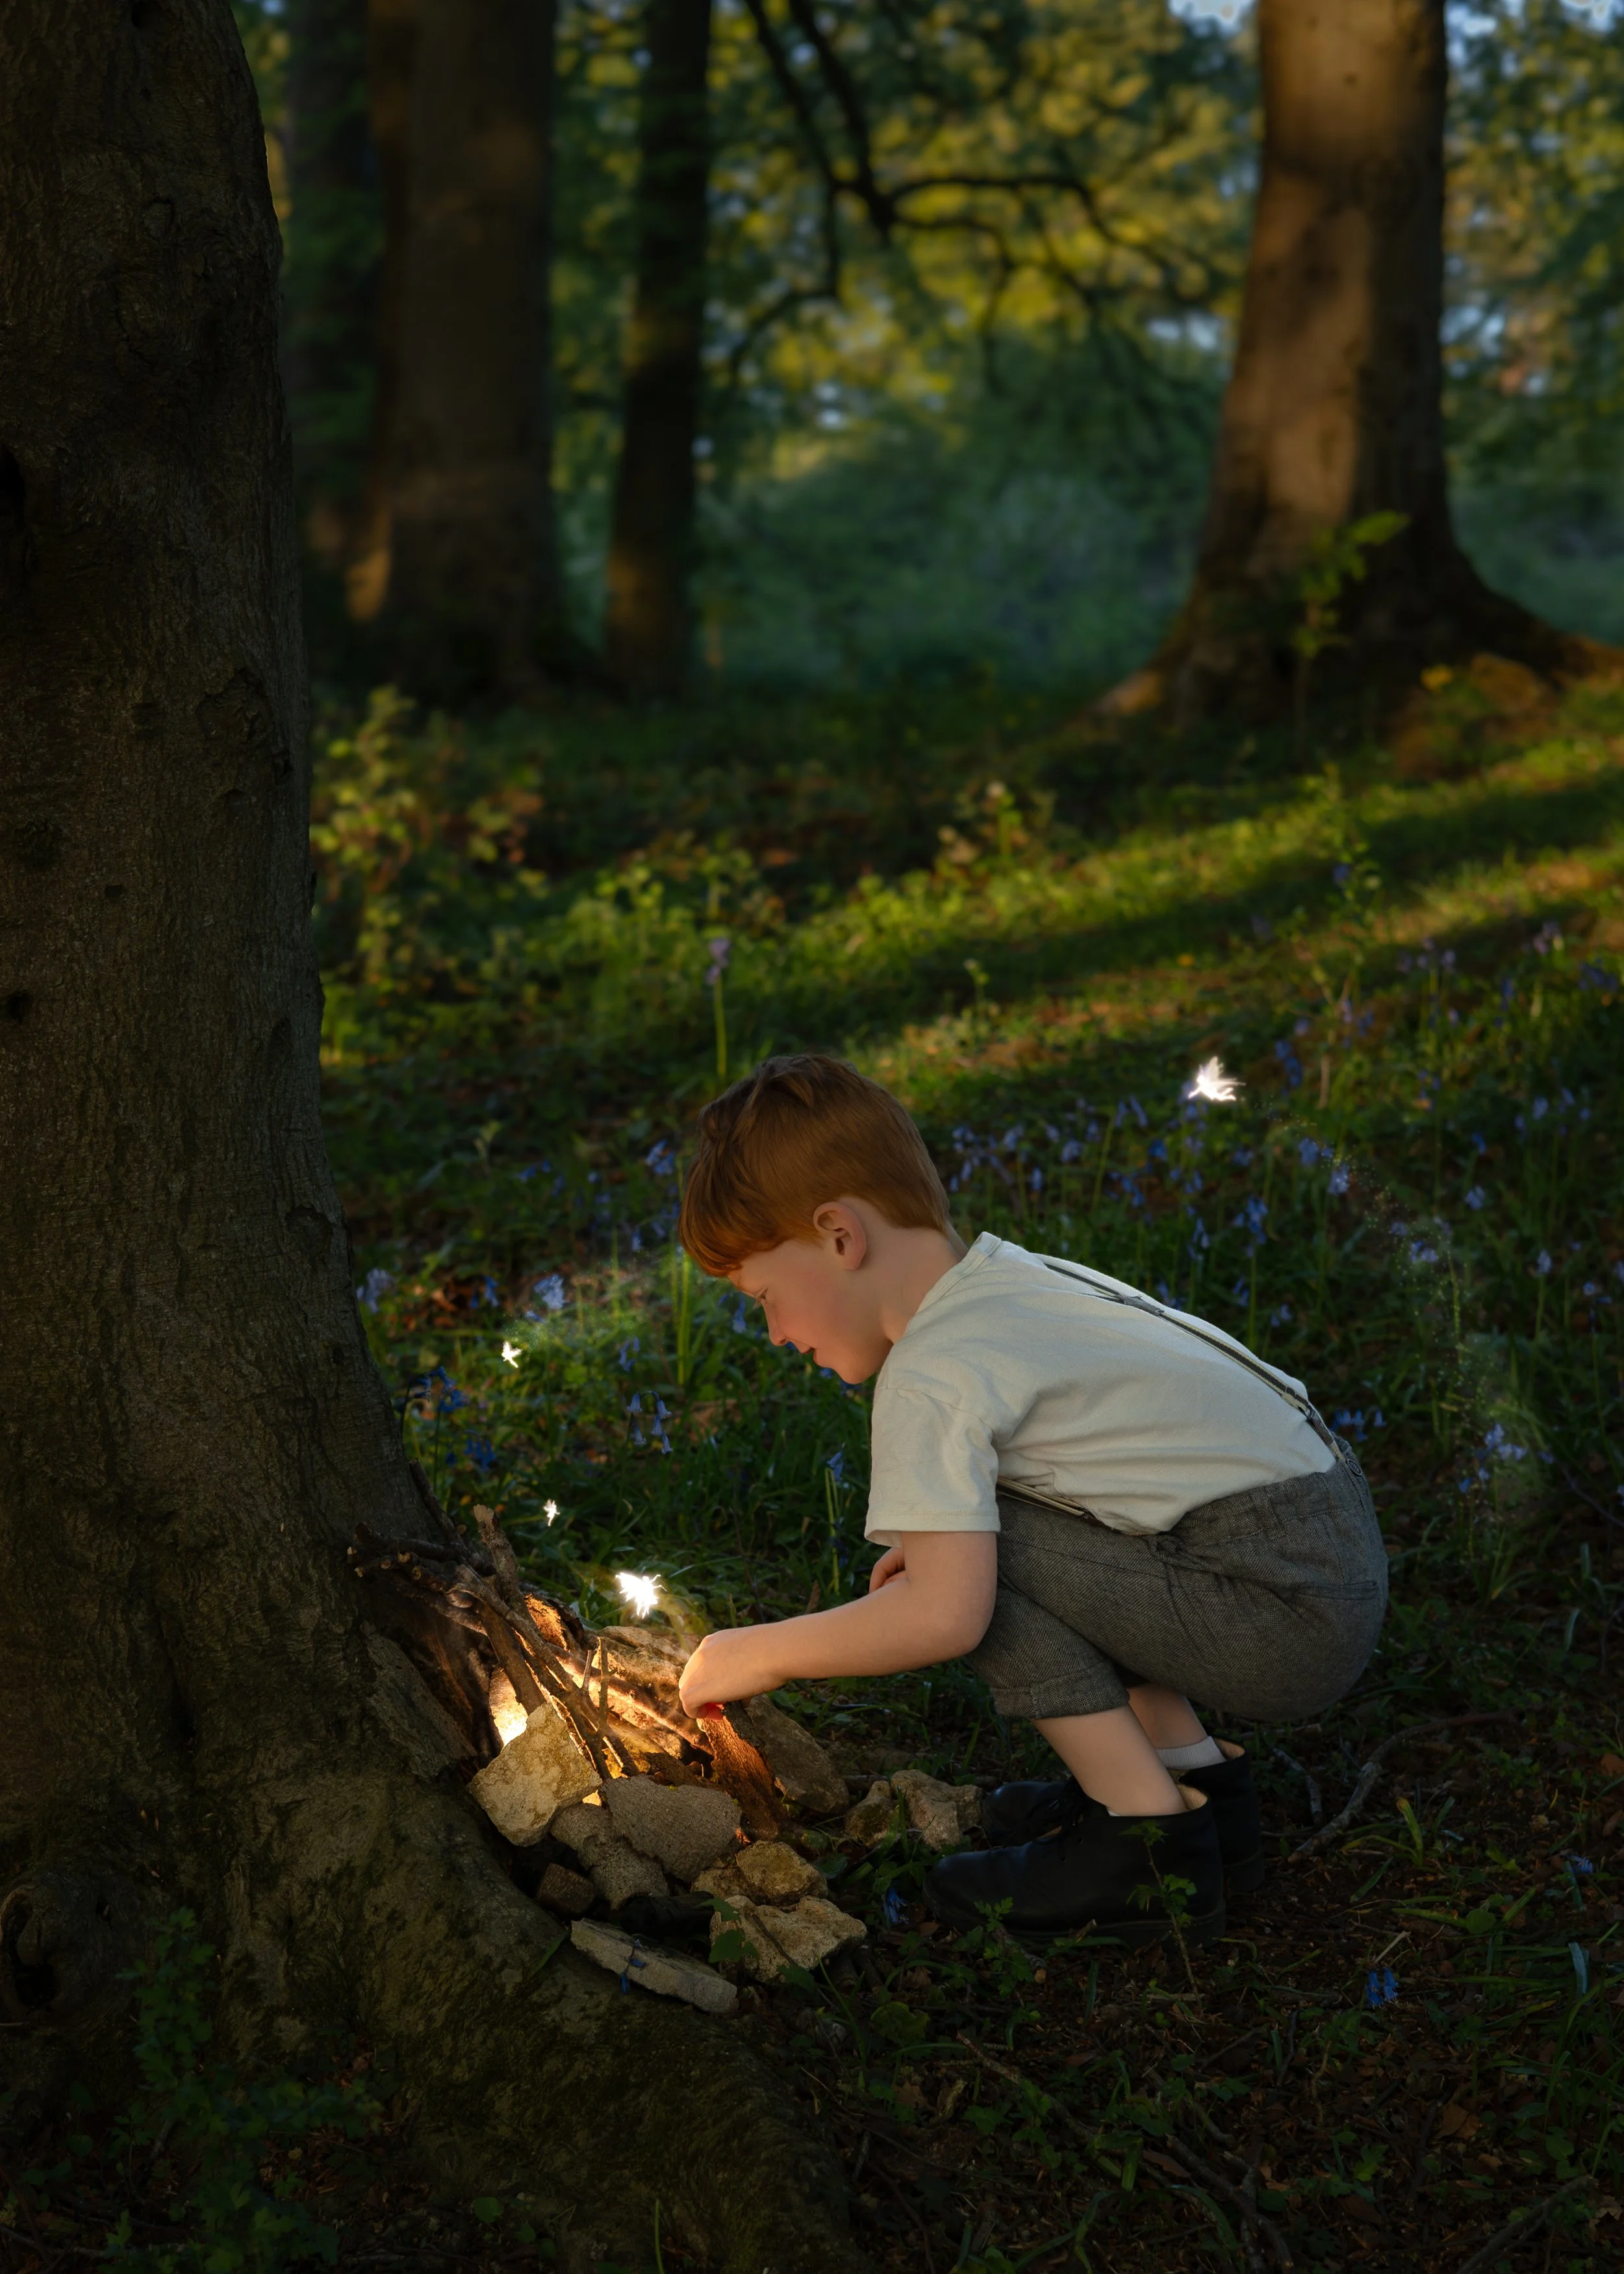
The strongest images usually happen naturally through play, exploration, imagination, interaction and allowing children to genuinely engage with the environment around them rather than constantly asking them to smile at the camera. That’s probably the biggest misconception about my work. While the final portraits may look highly styled, artistic, and carefully constructed, the actual experience behind the scenes is usually relaxed, child-led and designed to feel enjoyable rather than forced.
As both a photographer and an autistic parent myself, creating sessions this way became incredibly important to me. I know that not every child enjoys traditional photography experiences, especially sessions that involve pressure, constant direction, or expectations to sit still and pose perfectly. So instead, I create immersive shoots built around storytelling, atmosphere, movement and imagination. The cinematic feel comes from everything built around those moments; the planning, colours, styling, lighting, locations, storytelling and fine art editing afterwards.
So I thought I’d share more of the behind-the-scenes process behind how I create my signature child photography sessions across Gloucestershire and the Cotswolds, and how I balance creating artistic cinematic portraits while still making the experience genuinely enjoyable and SEN friendly for children too.

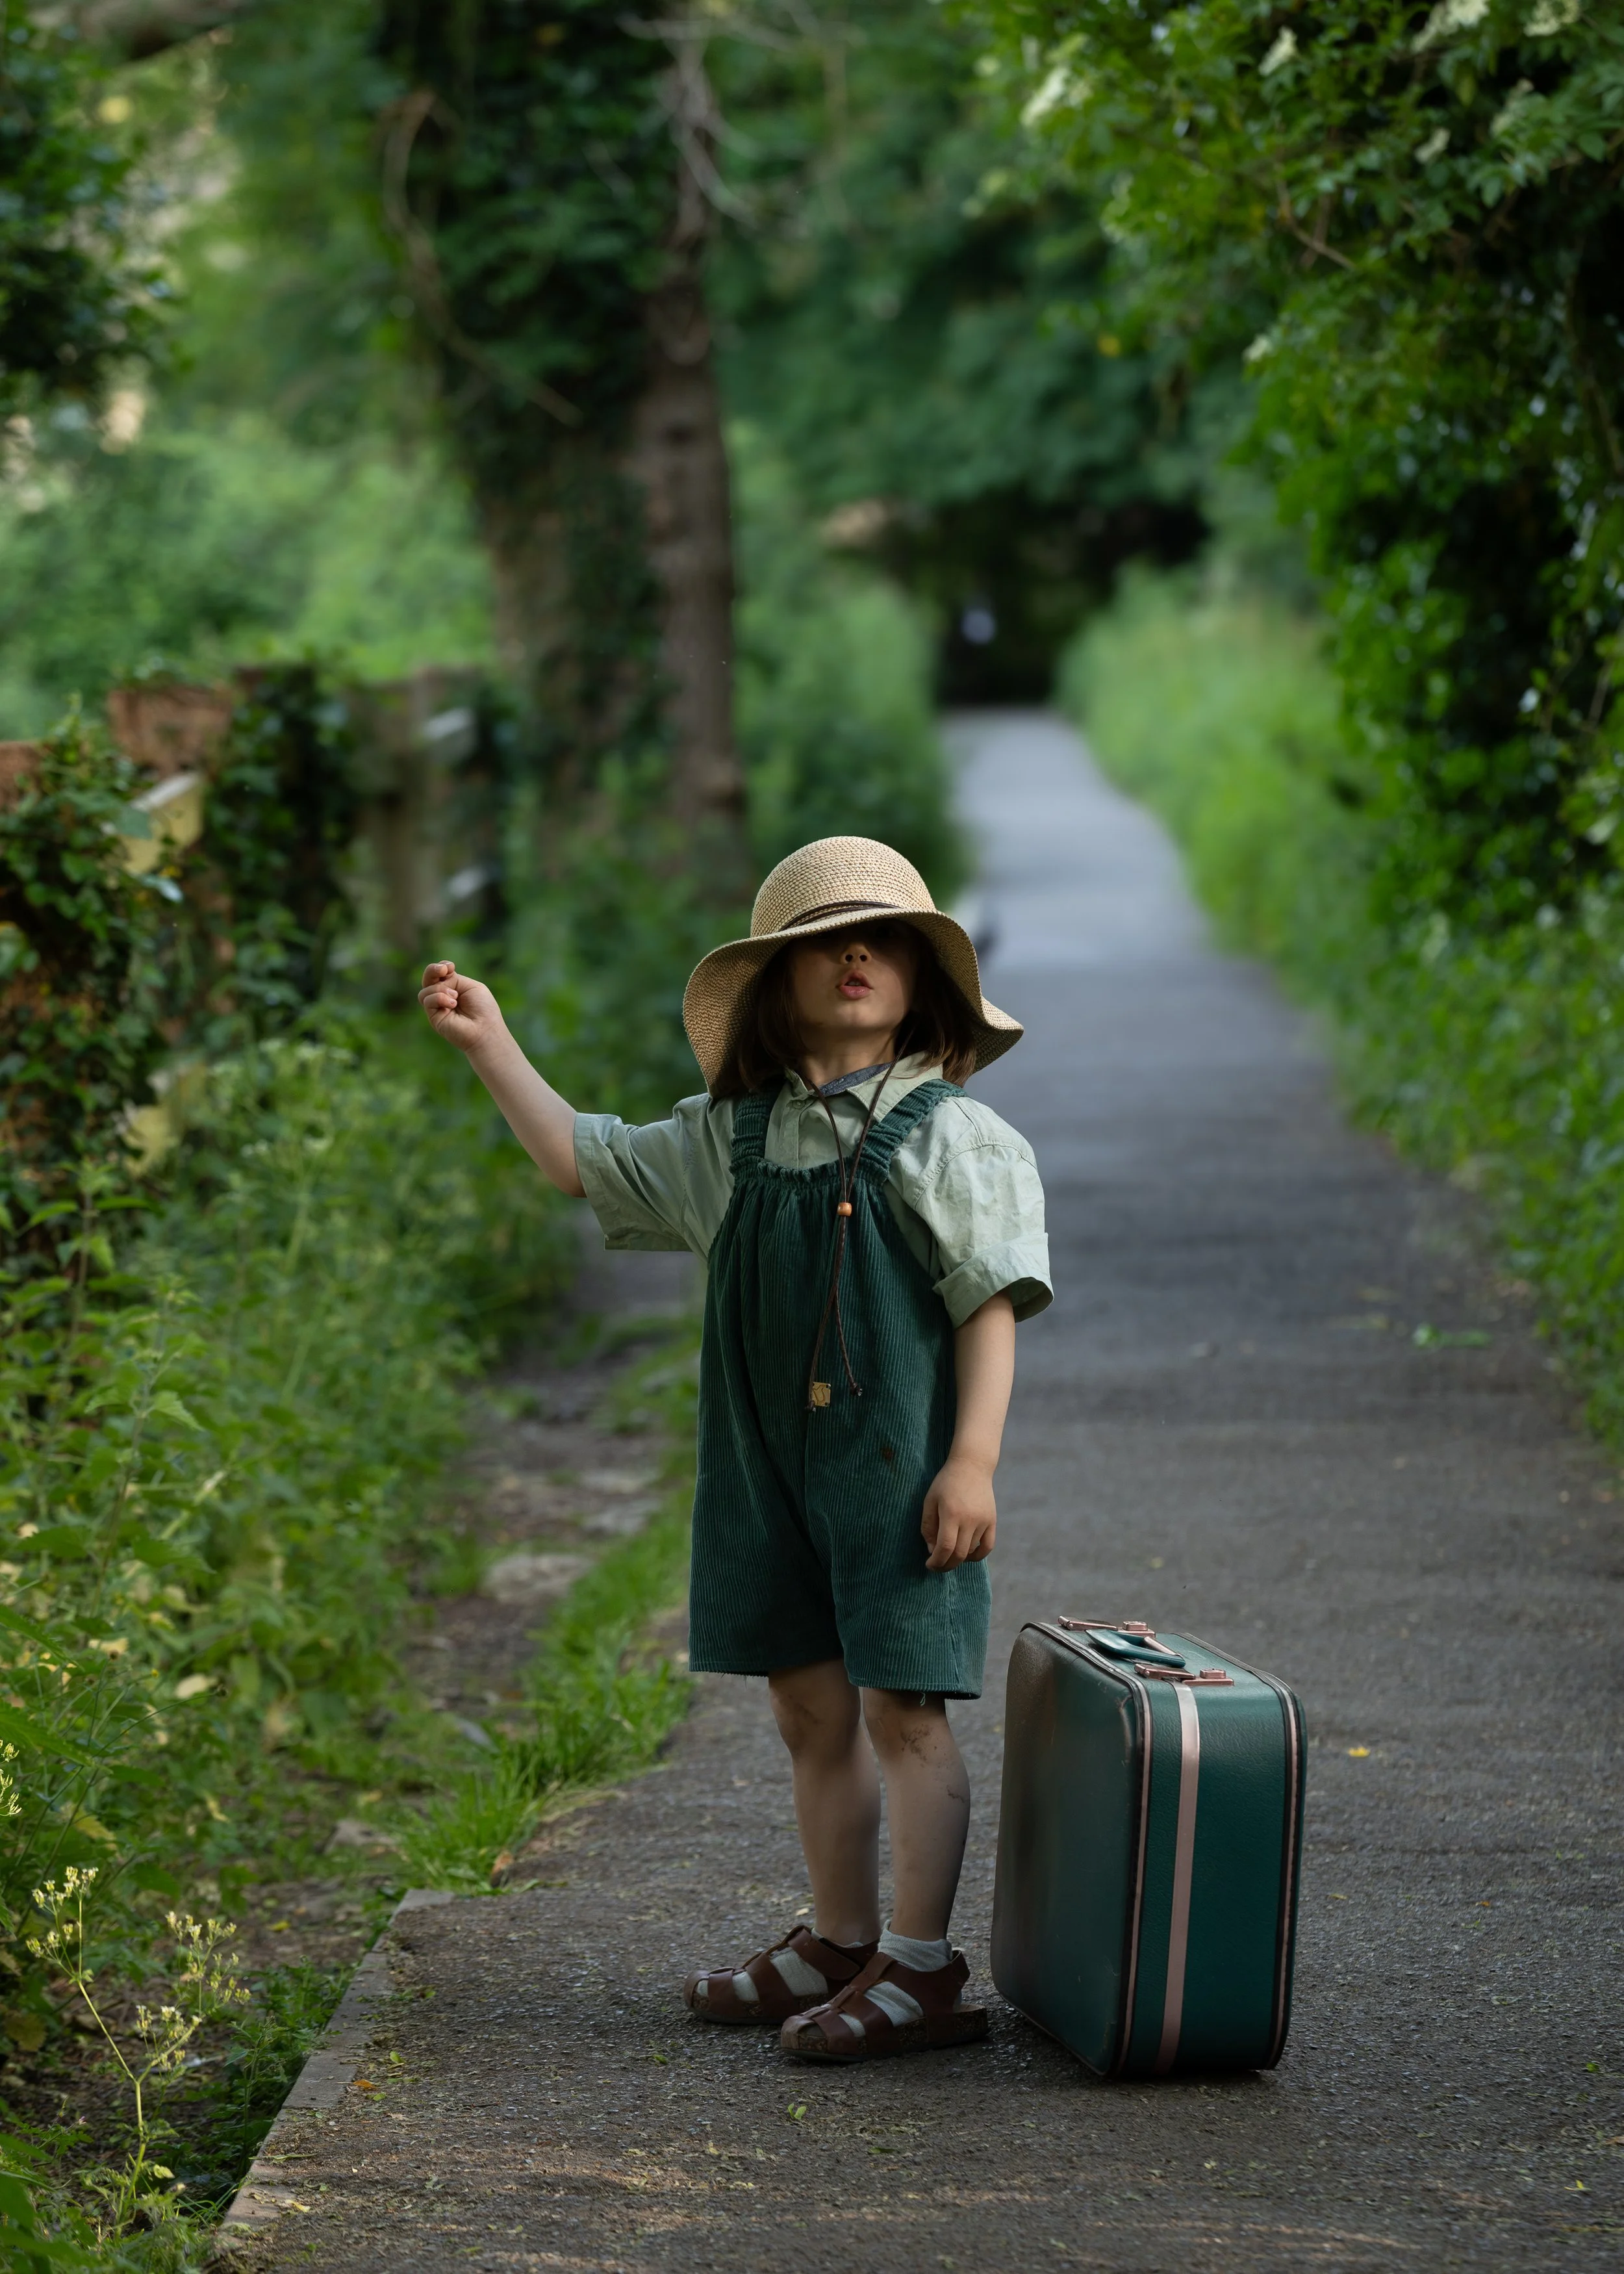


Step One — Creating The Initial Idea
Every session begins with an idea. Sometimes inspiration comes from films, childhood memories, seasons, textures, colours, locations or even a tiny visual detail that sparks something bigger.
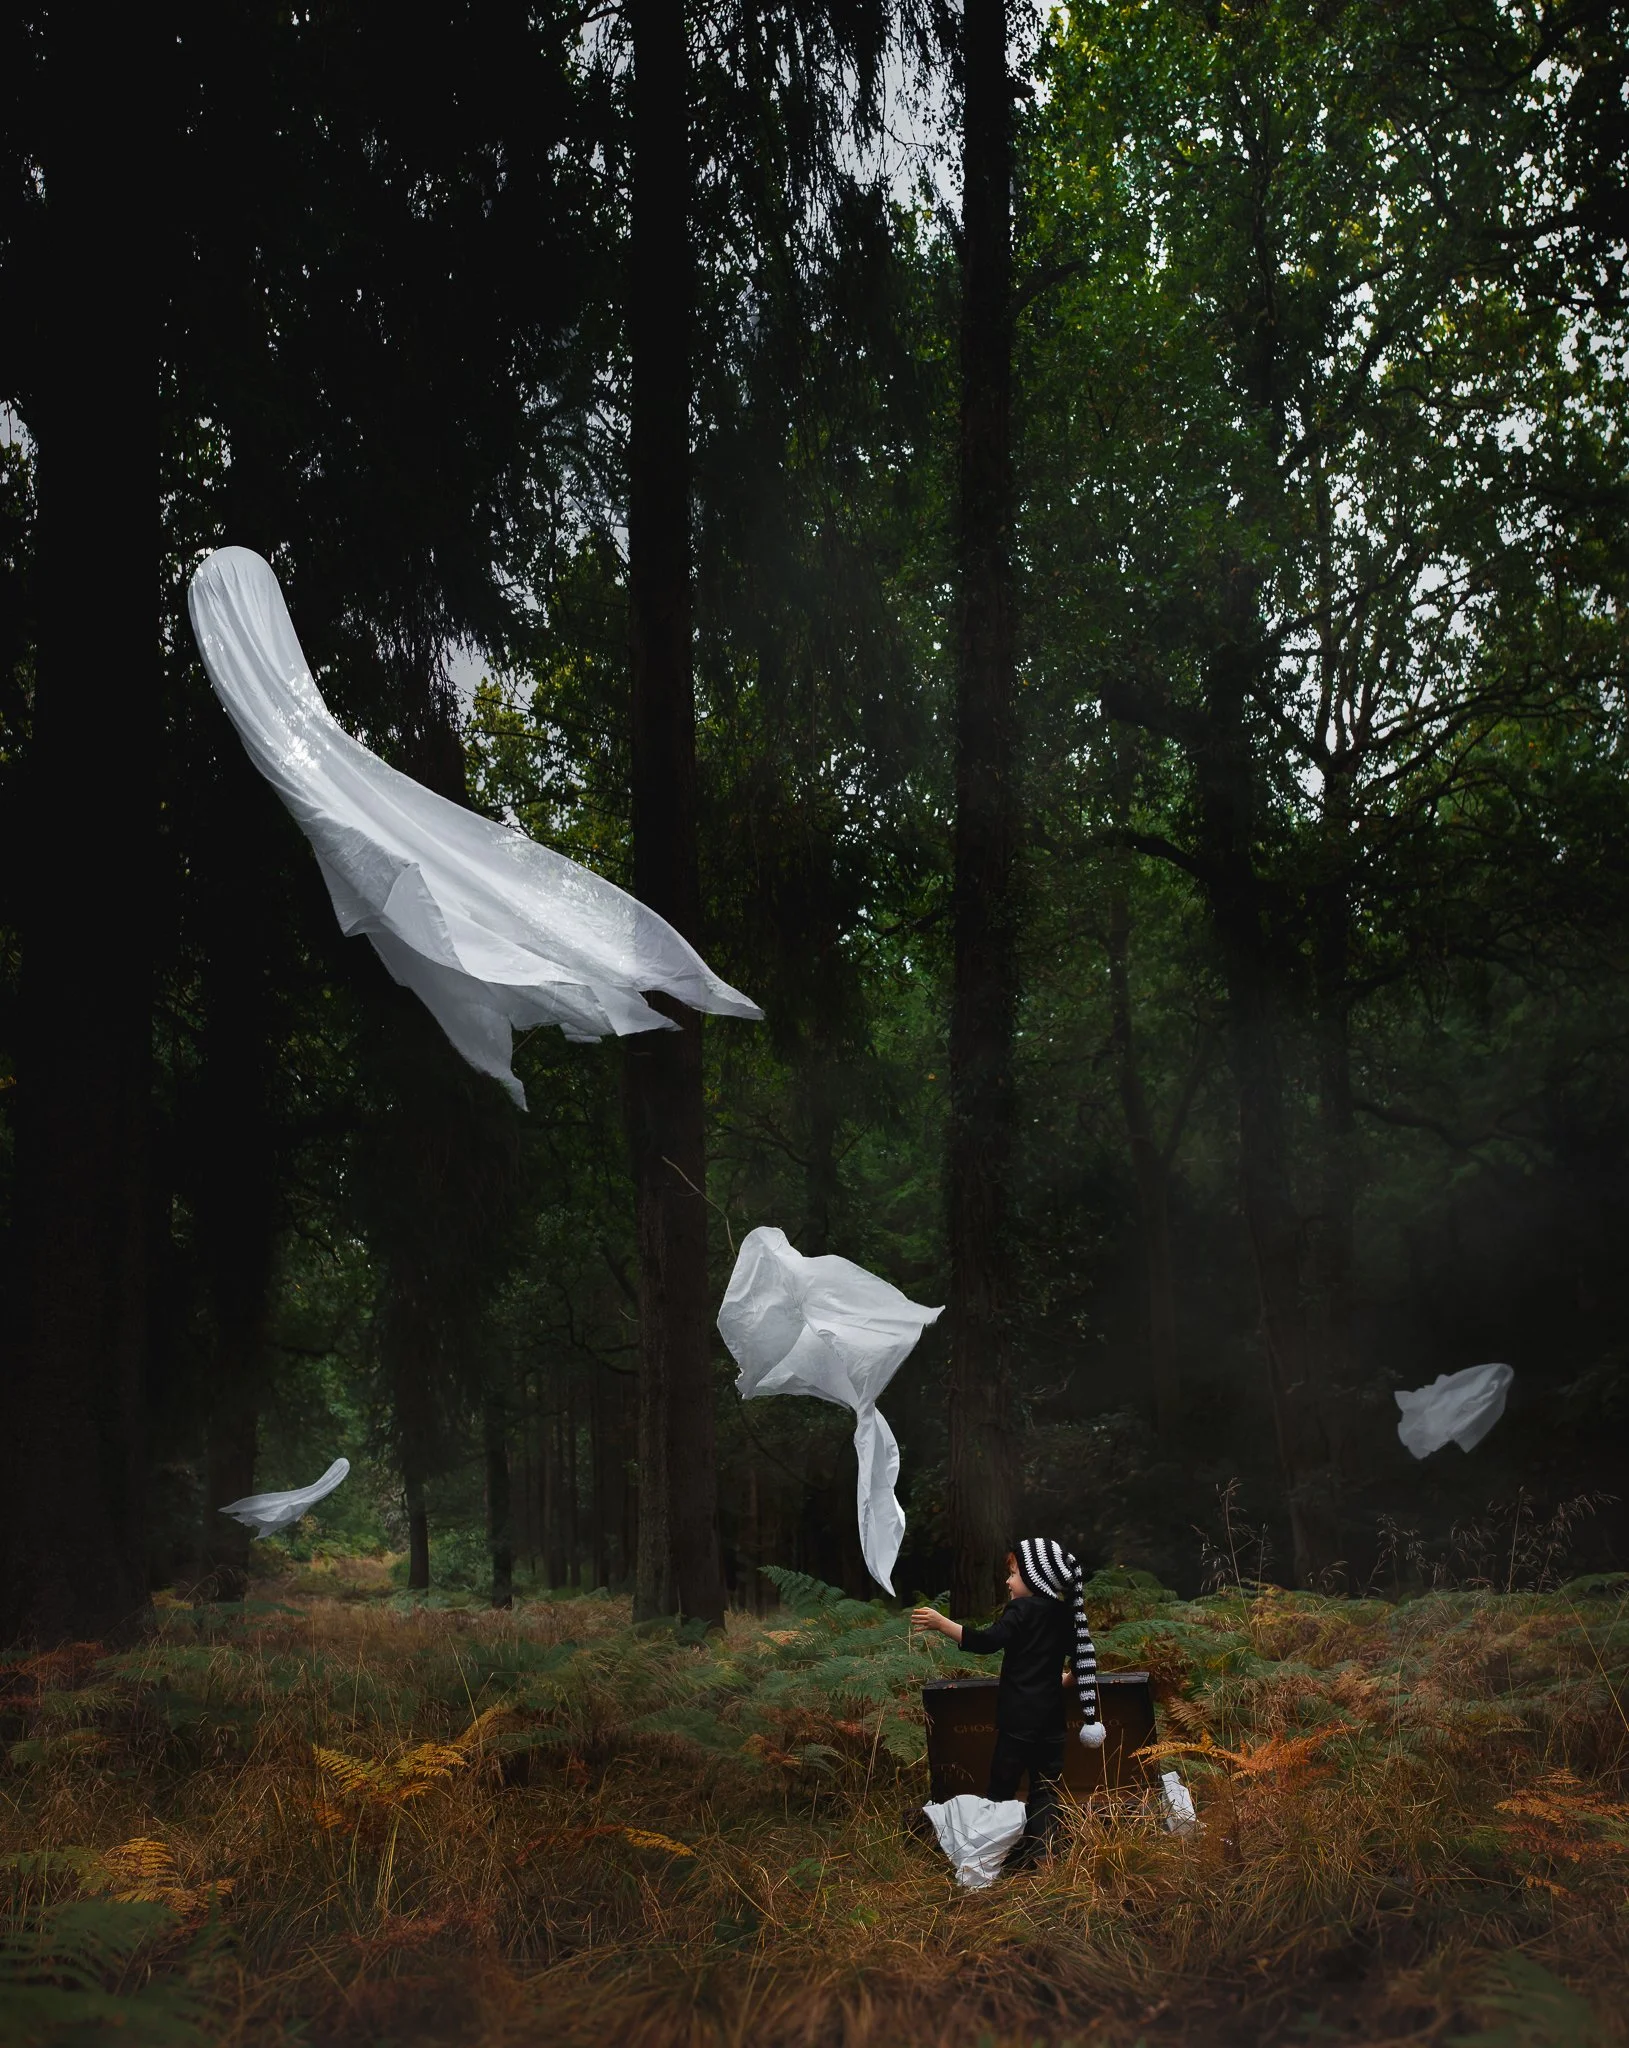
My Halloween portraits, for example, are always created around a film character. I look at their costume and the world they come from and think about the different creative ways I could capture that in an image. I usually begin collecting inspiration visually first.
Step Two — Learning About My Model
Before planning the actual shoot setup, I spend time learning about the child involved. This is one of the most important parts of my process.
Before each shoot I will ask about:
Interests
Favourite films, books or characters
Personality
Sensory needs
Communication styles
Likes and dislikes
Whether they enjoy imaginative play
Things they may struggle with
Whether they prefer structure or freedom
No two children are the same. Some children love using their imagination and instantly throw themselves into roleplay. Others need time to warm up to new environments. Some are constantly moving. Some are quieter observers. Some want clear direction while others prefer freedom to explore.
Especially for SEN families, understanding the child properly beforehand can completely change how successful and enjoyable the session feels. My photo shoots are always designed around each child to help make it an enjoyable experience for them.
Step Three — Building Mood Boards & Planning Colours
Once I have the idea, I start building visual mood boards. This is where I plan:
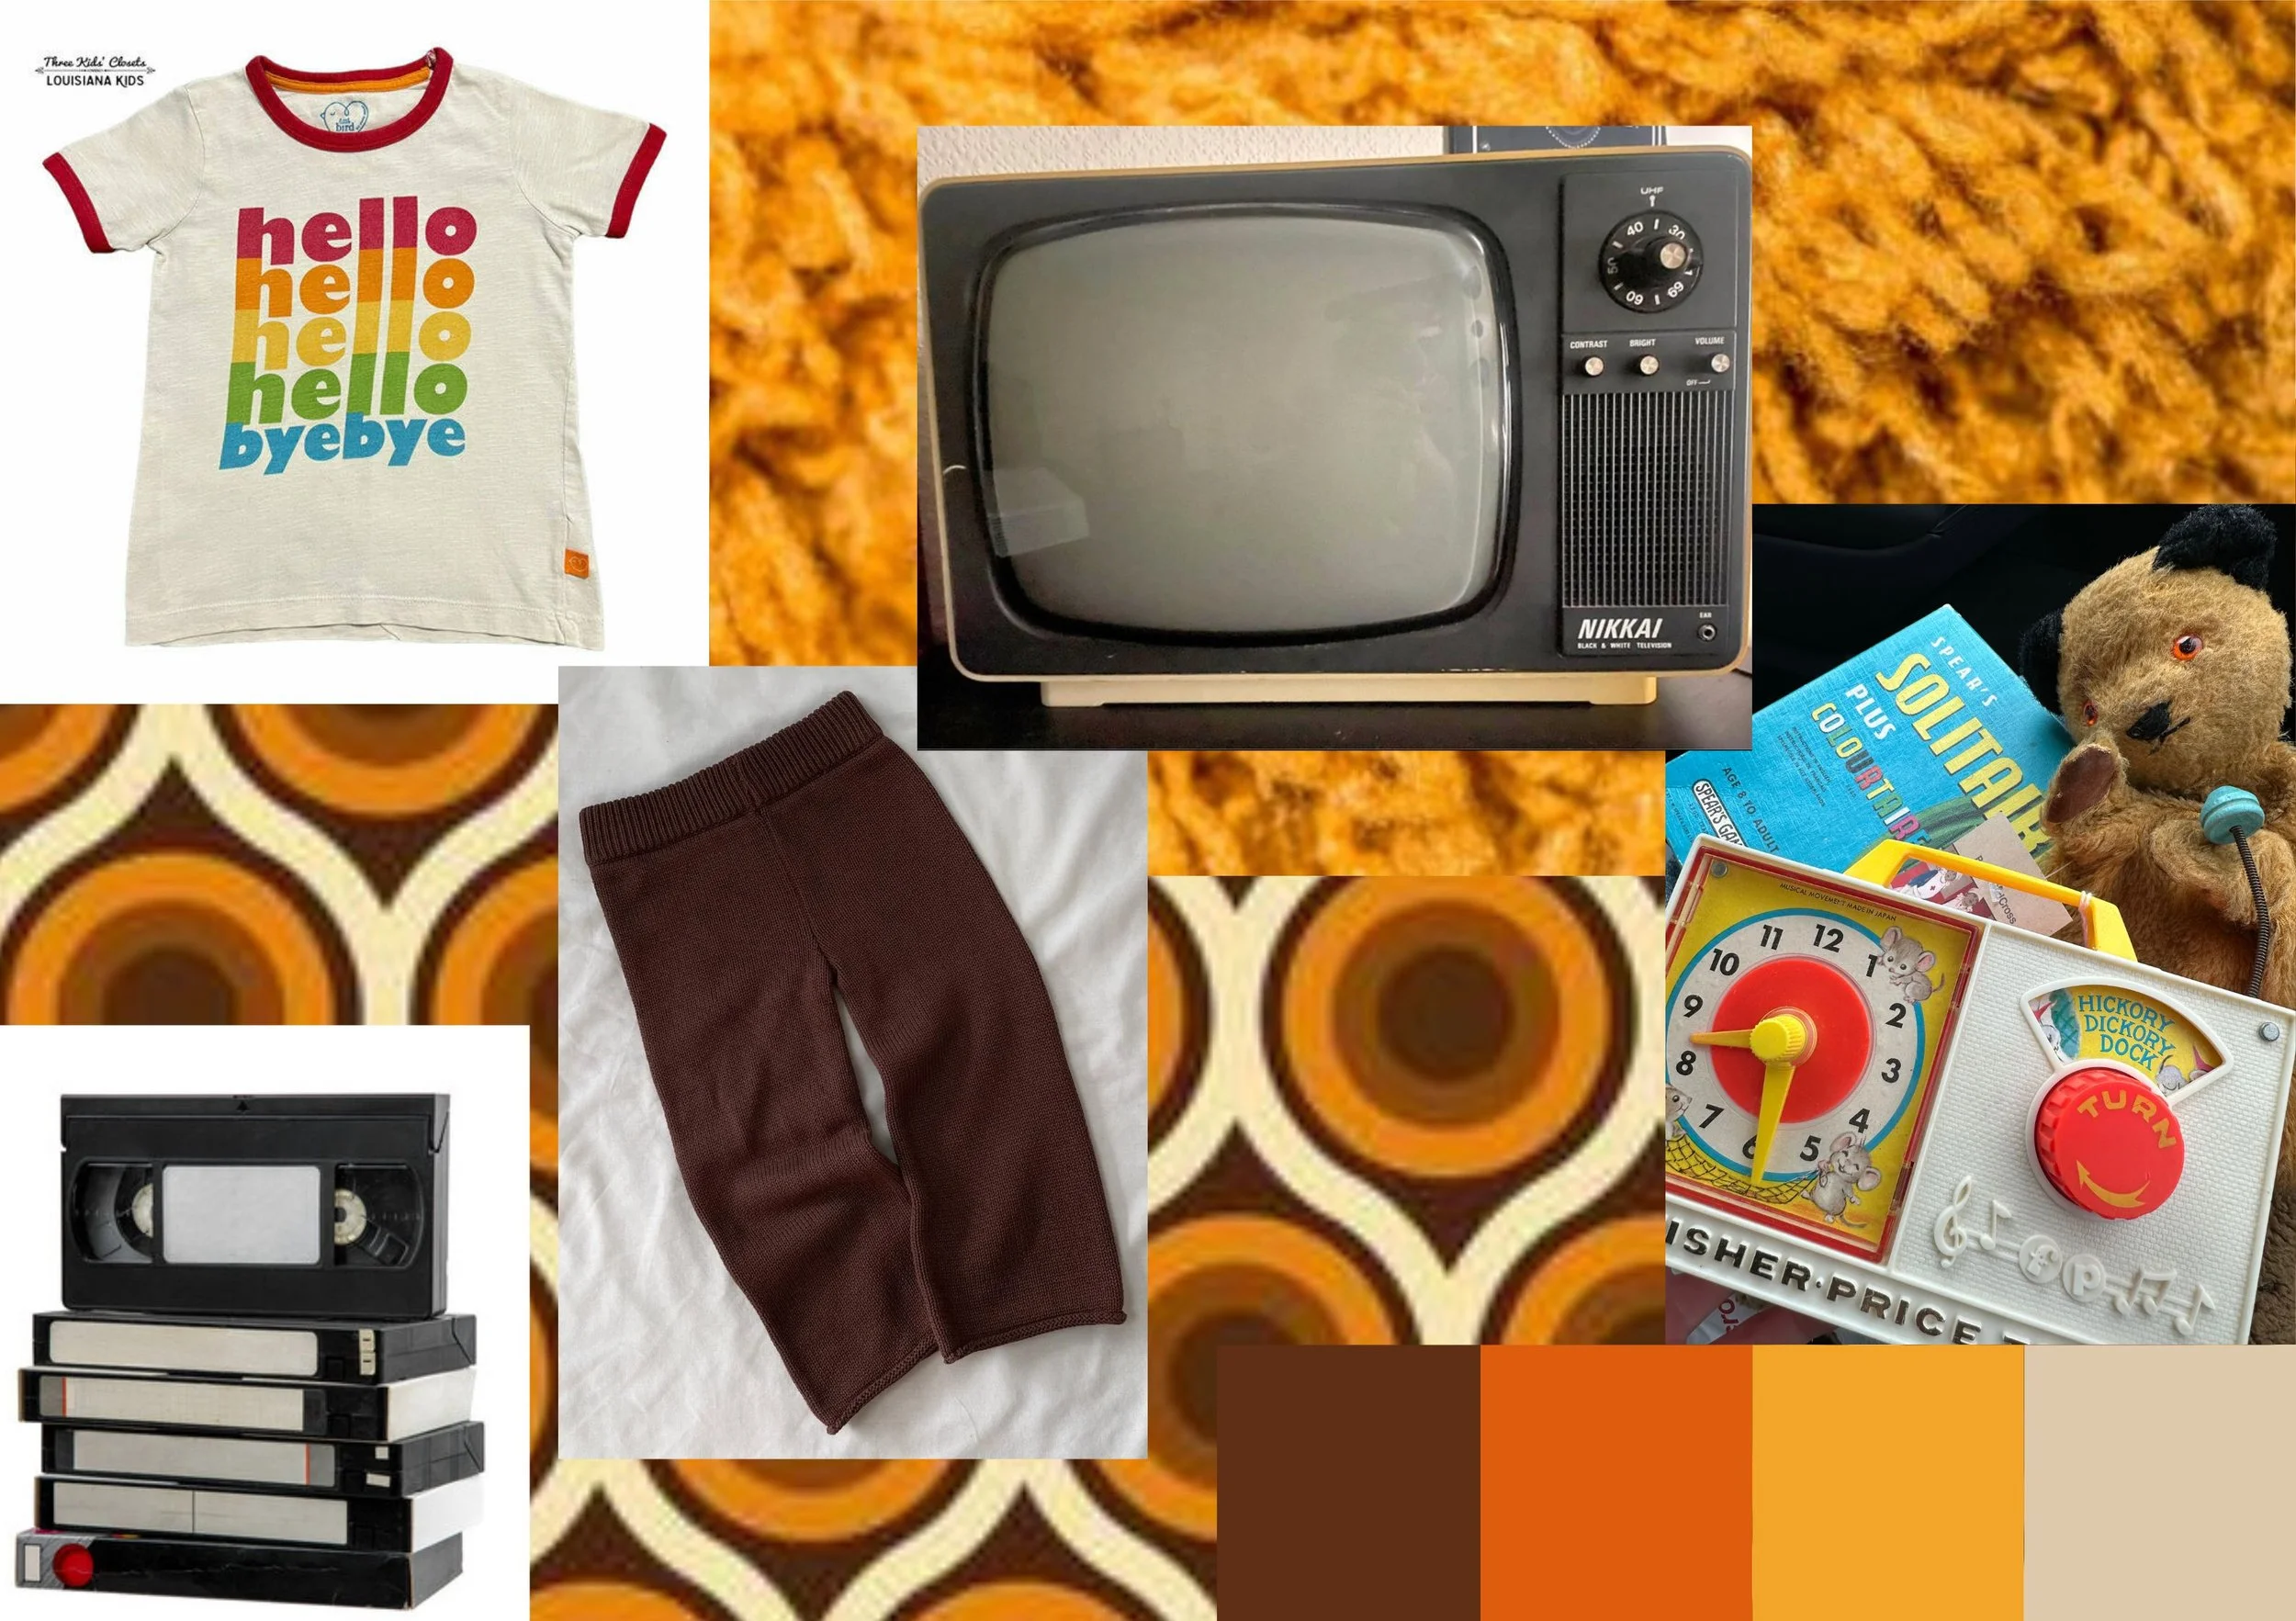
Colour palettes
Lighting inspiration
Props
Styling
Clothing ideas
Seasonal tones
Overall atmosphere
Colour is one of the biggest parts of creating cinematic images. I’m constantly thinking about how tones will work together before the shoot even happens, whether that’s focusing on one main colour that will stand out throught the image, vintage muted colours, deep shadows or warm inviting tones. I also think carefully about how colours will edit later during post-processing. Everything is chosen to help create a final image that feels immersive or helps tell the story I’m trying to create, rather than random.
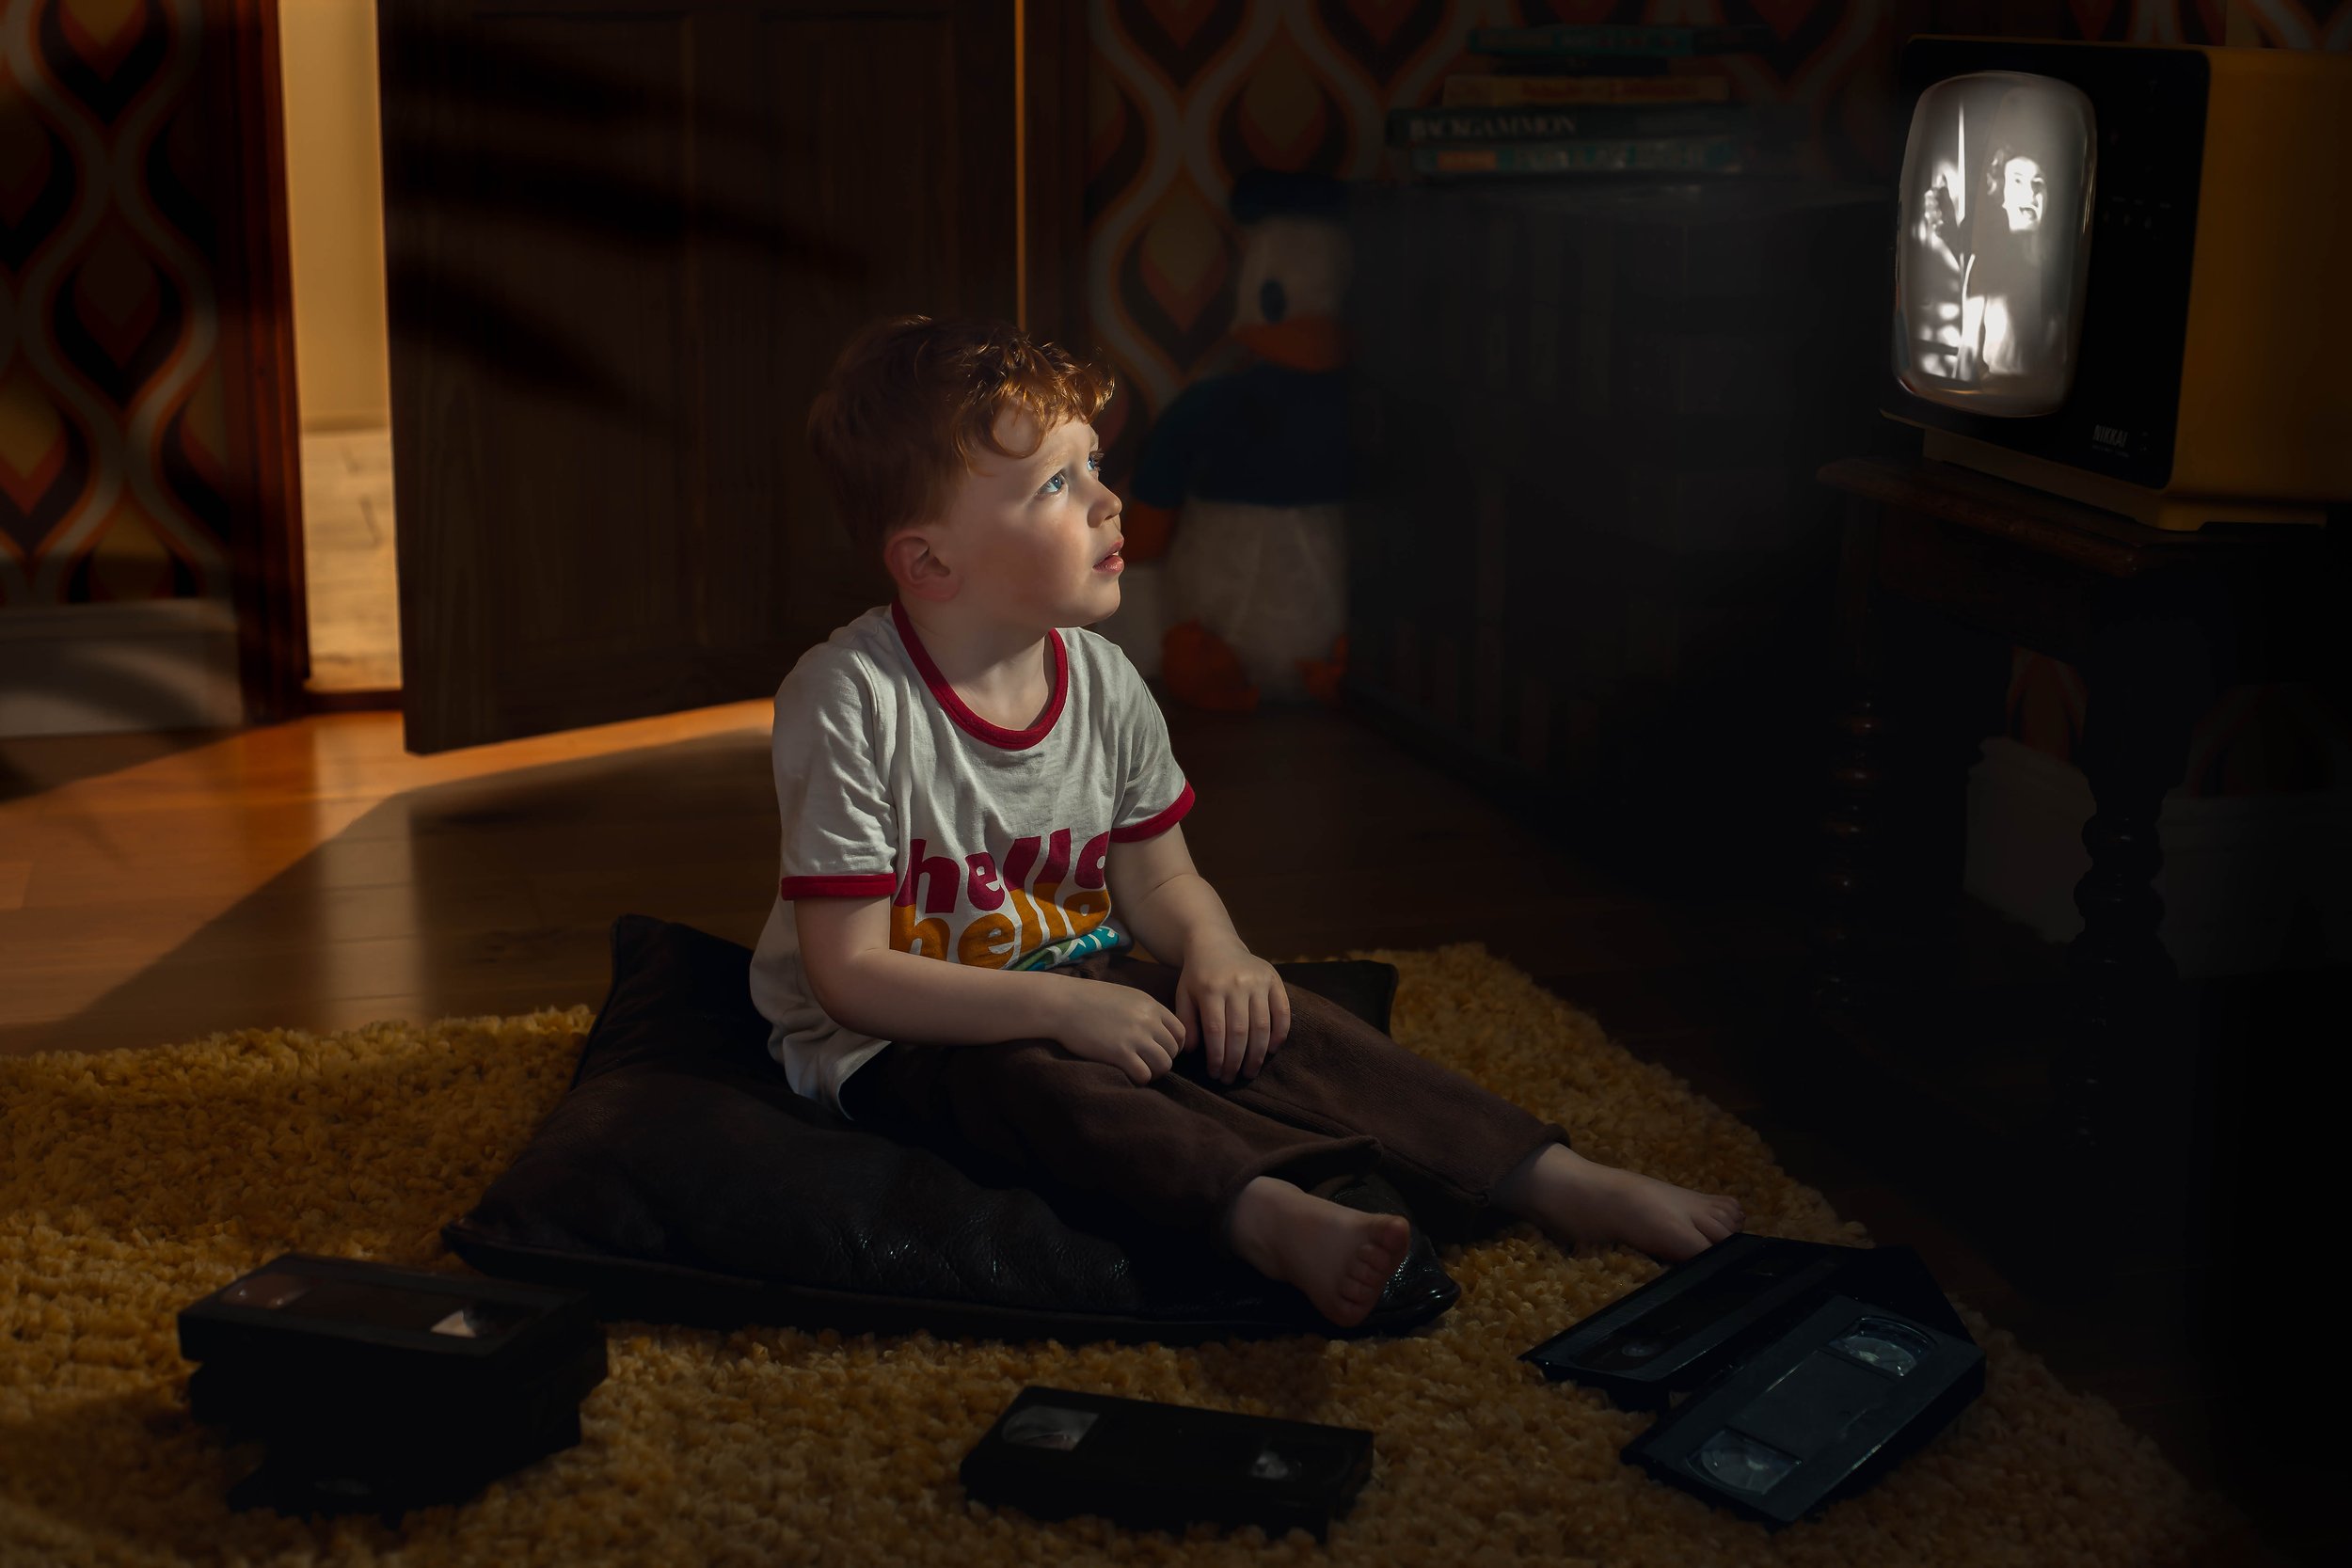
Step Four — Finding The Right Location
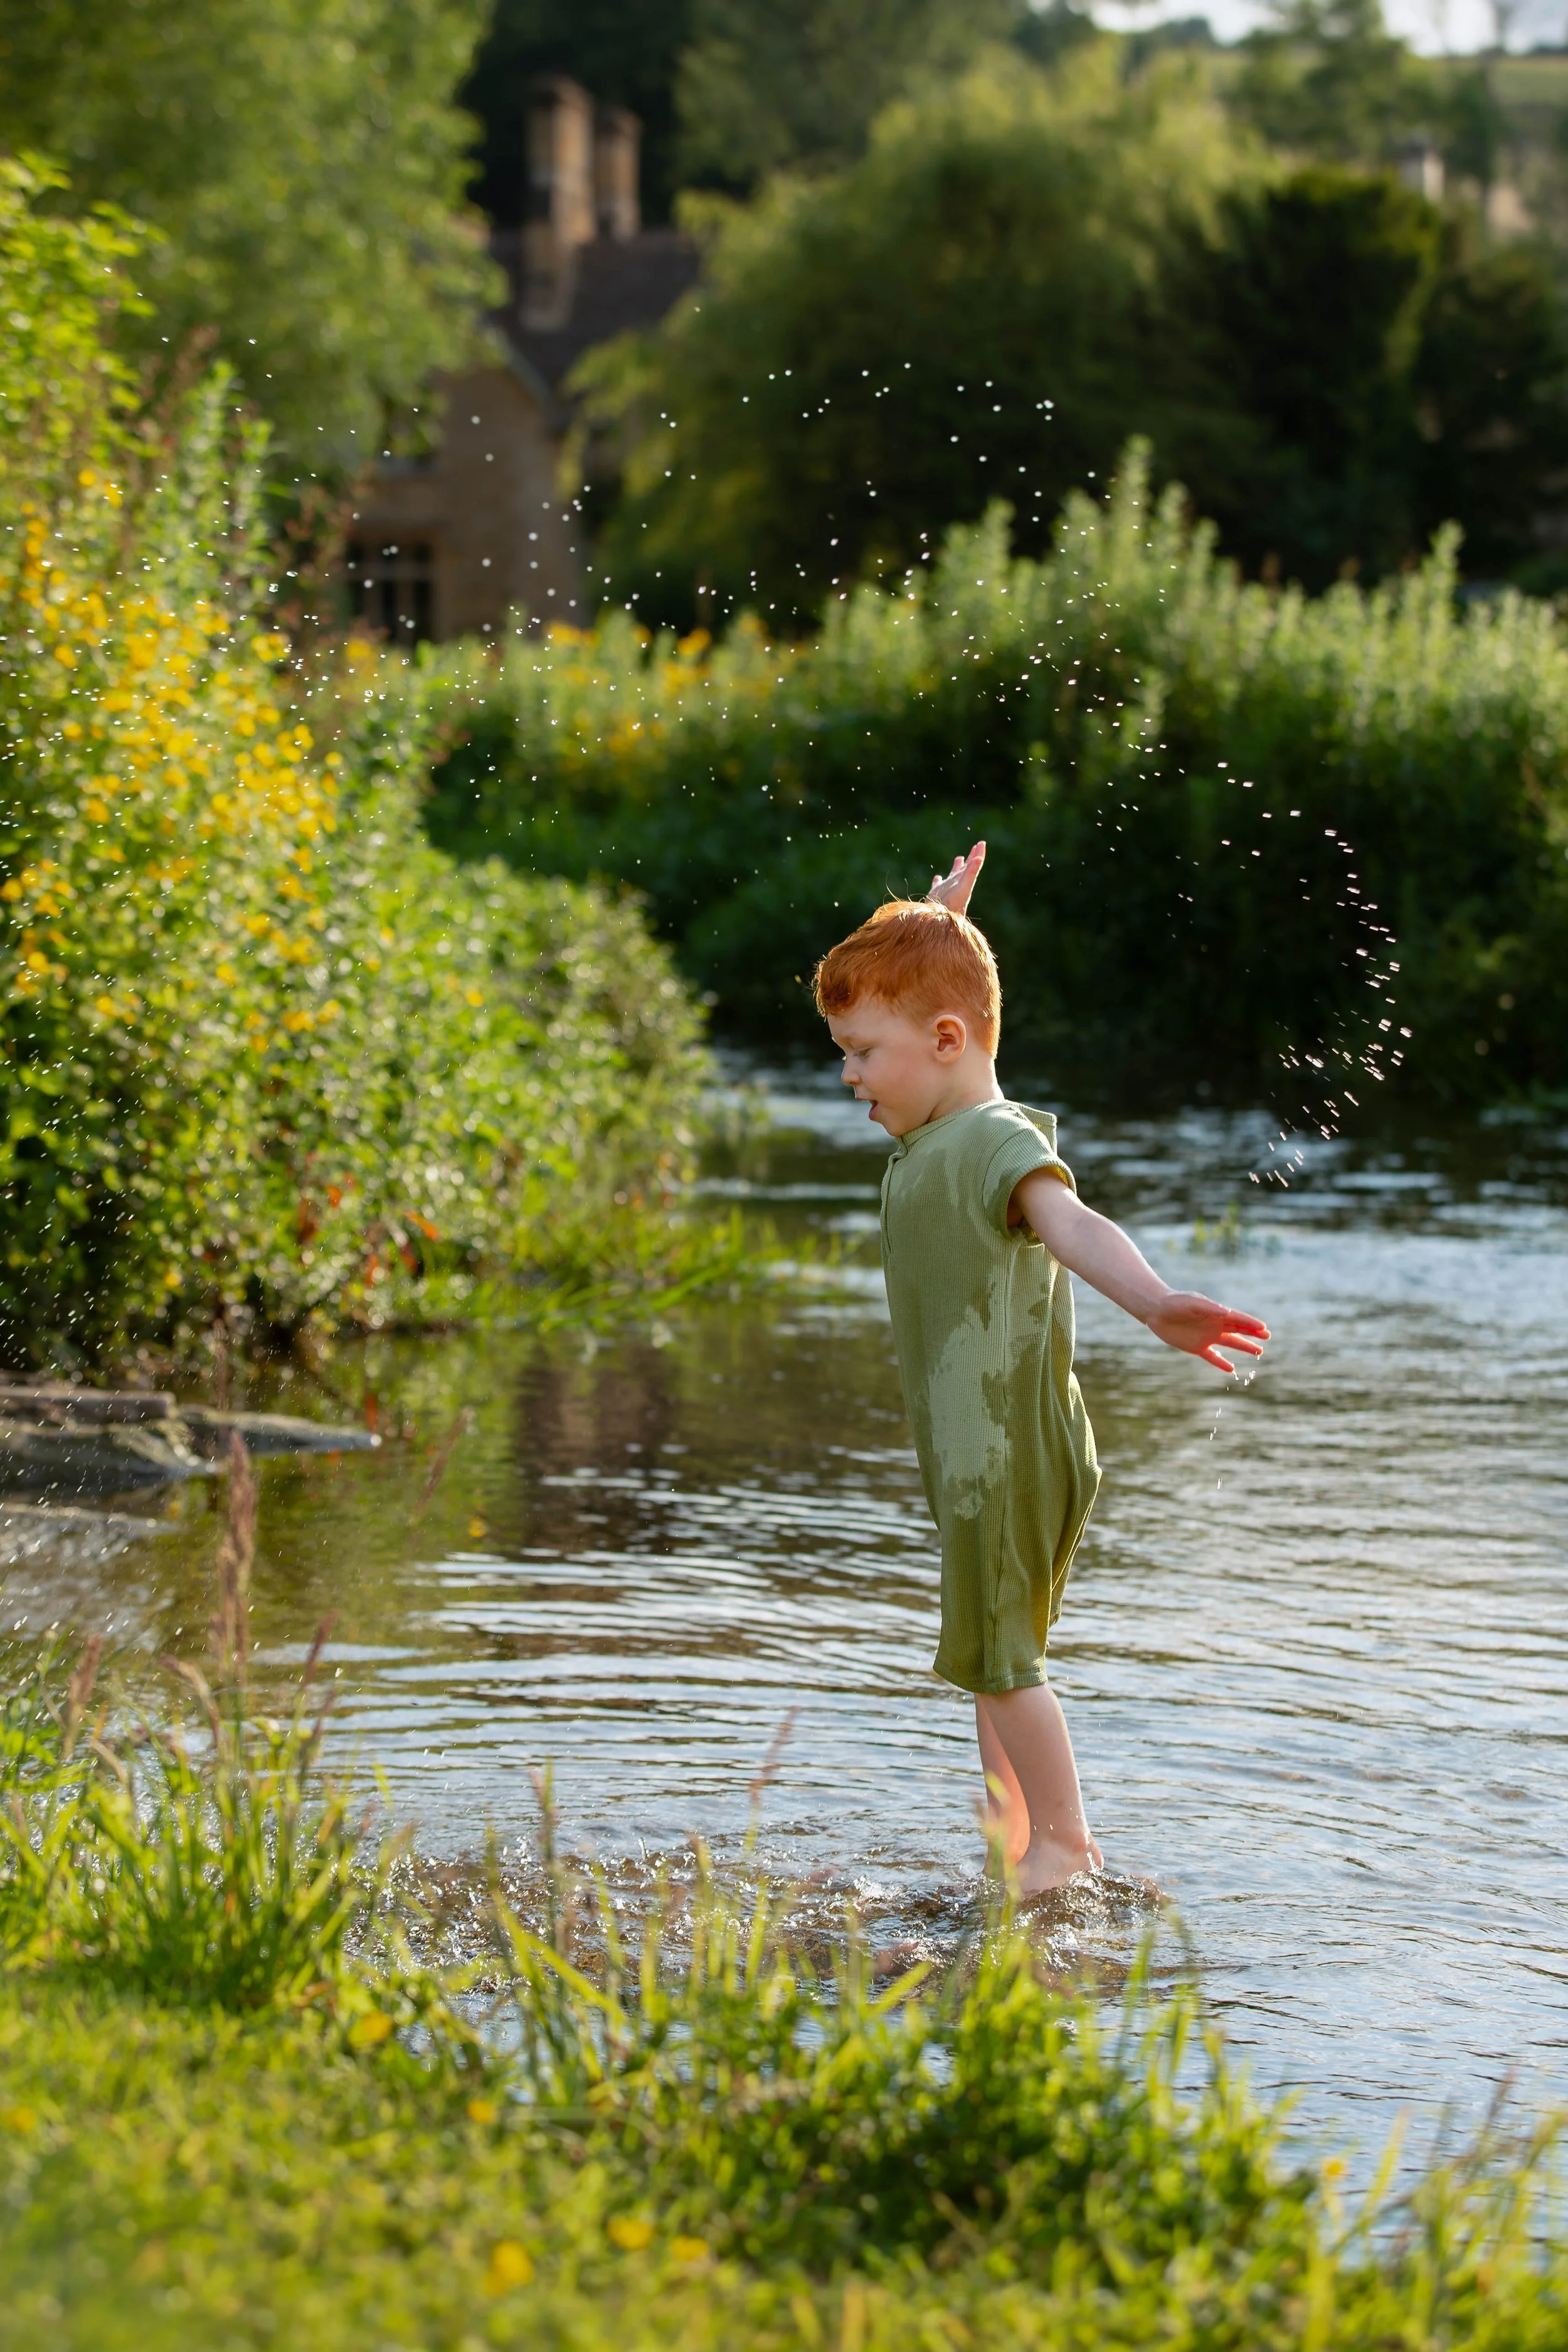
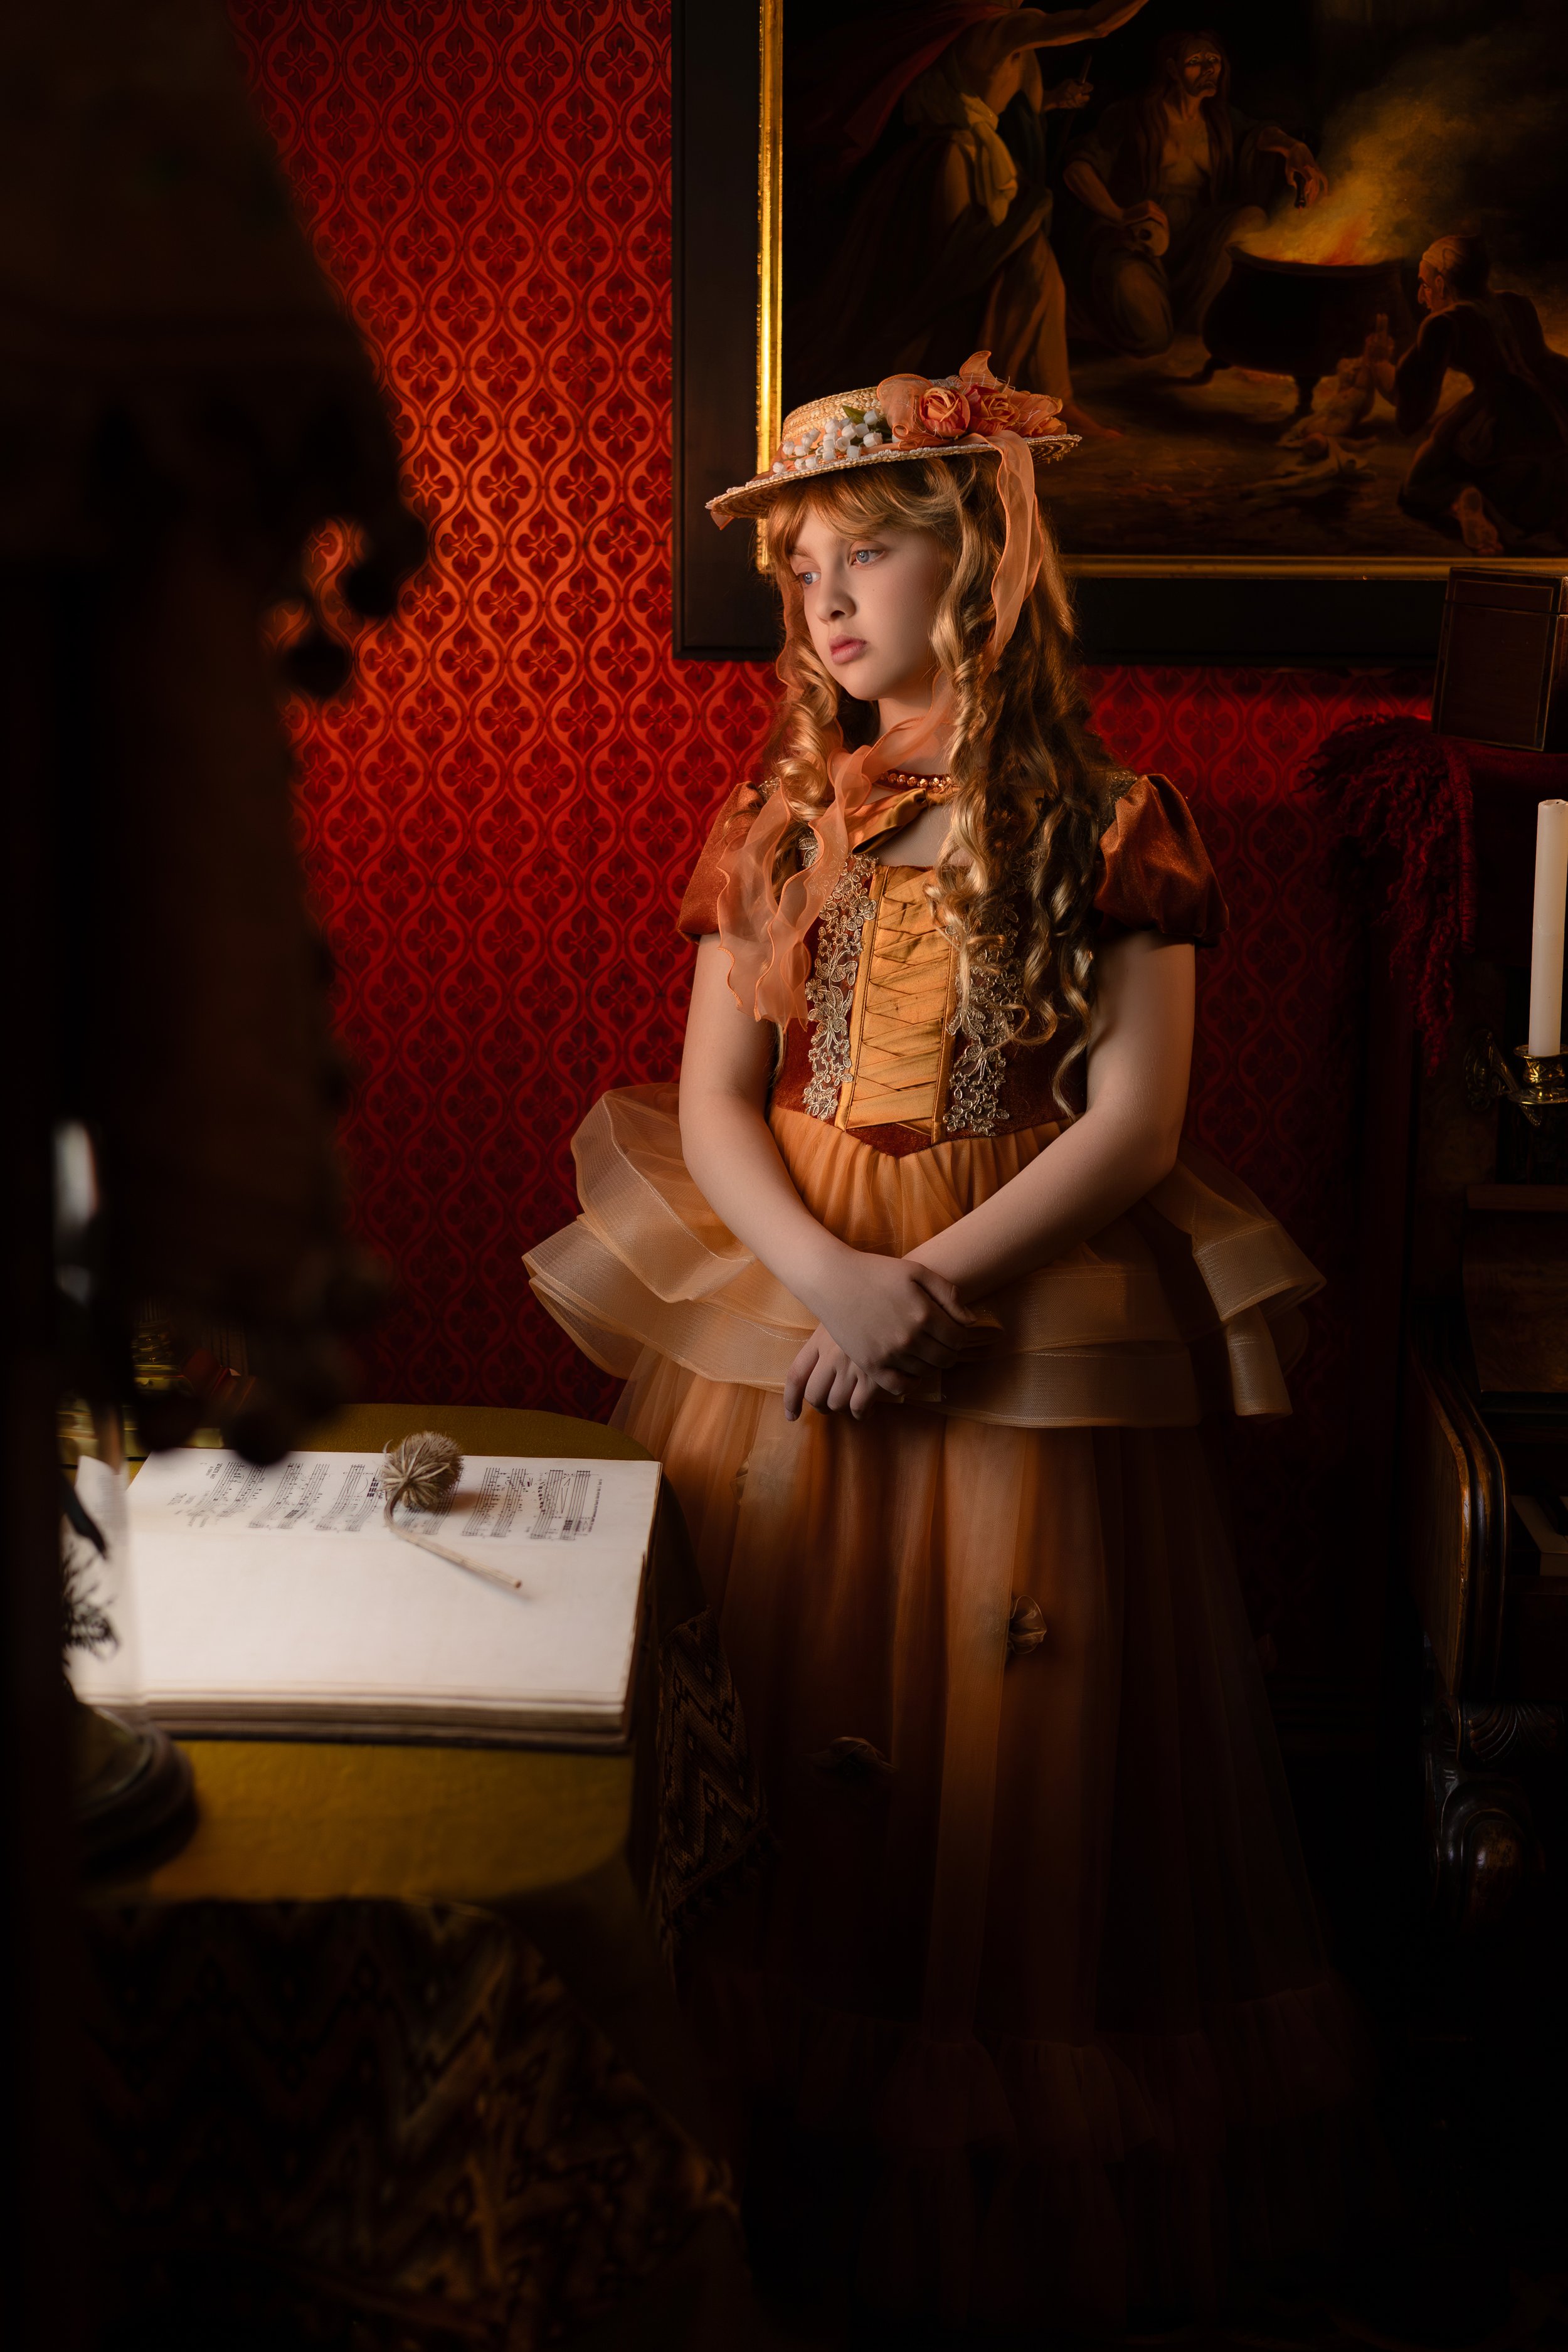
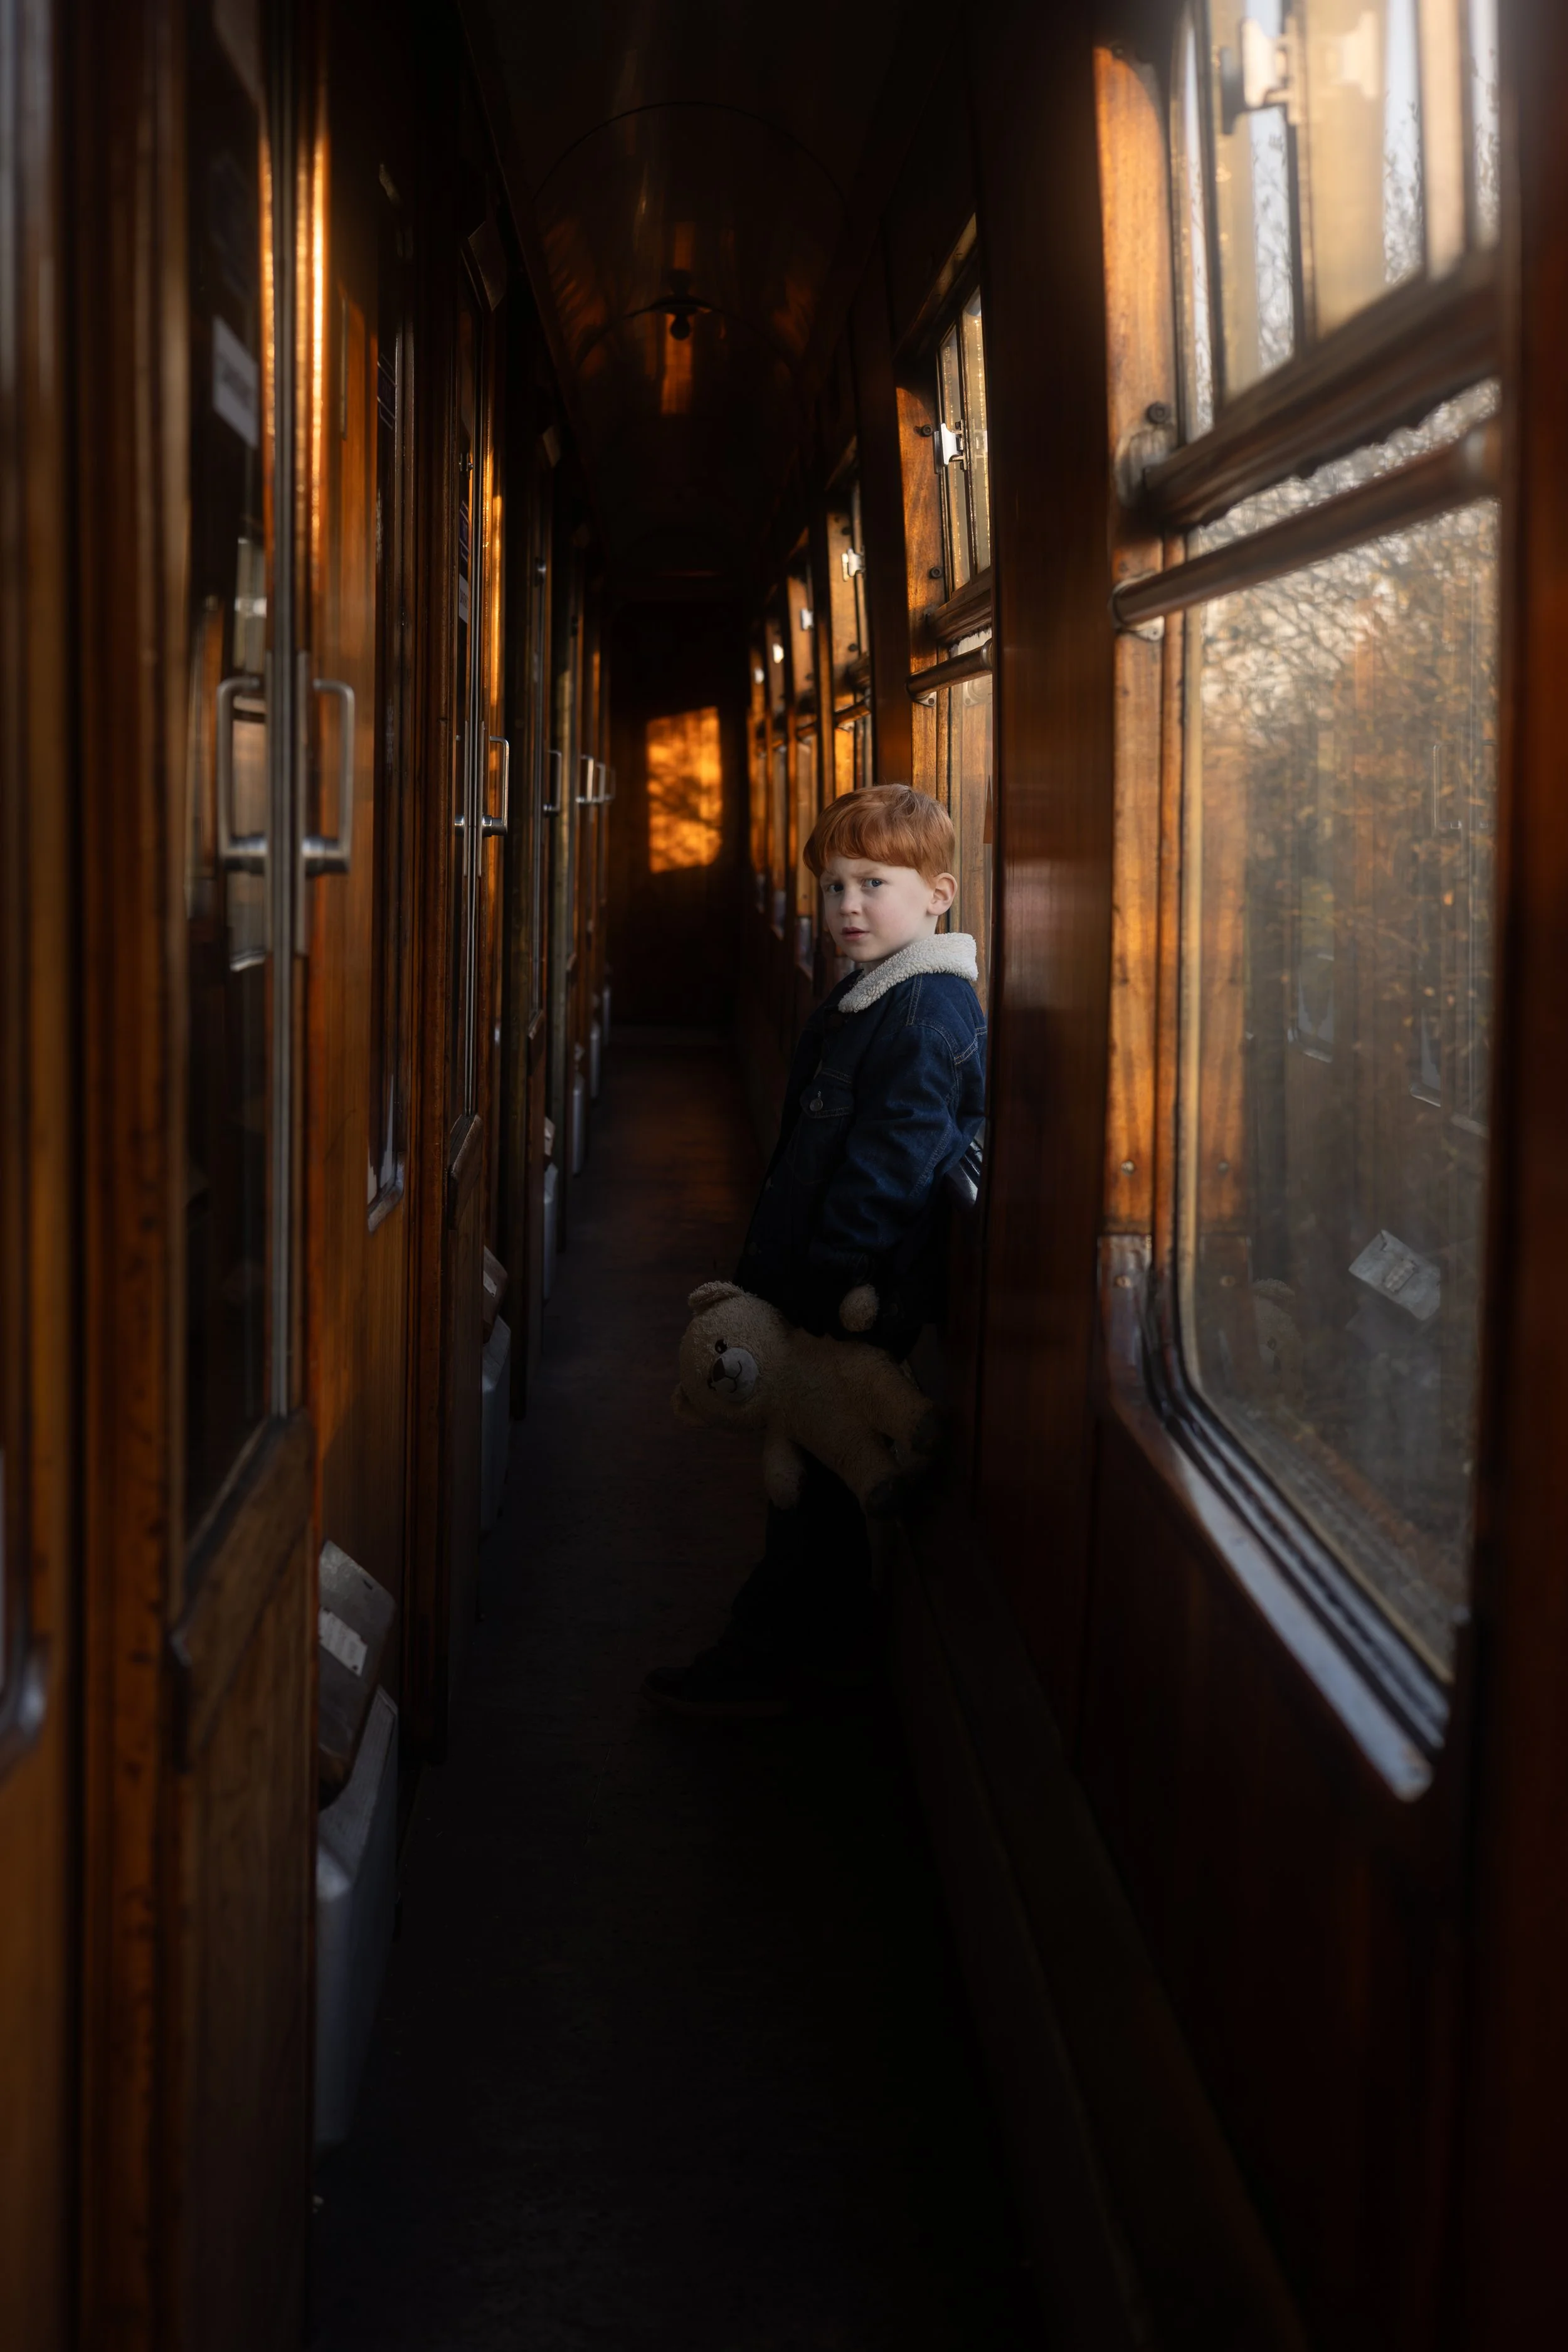
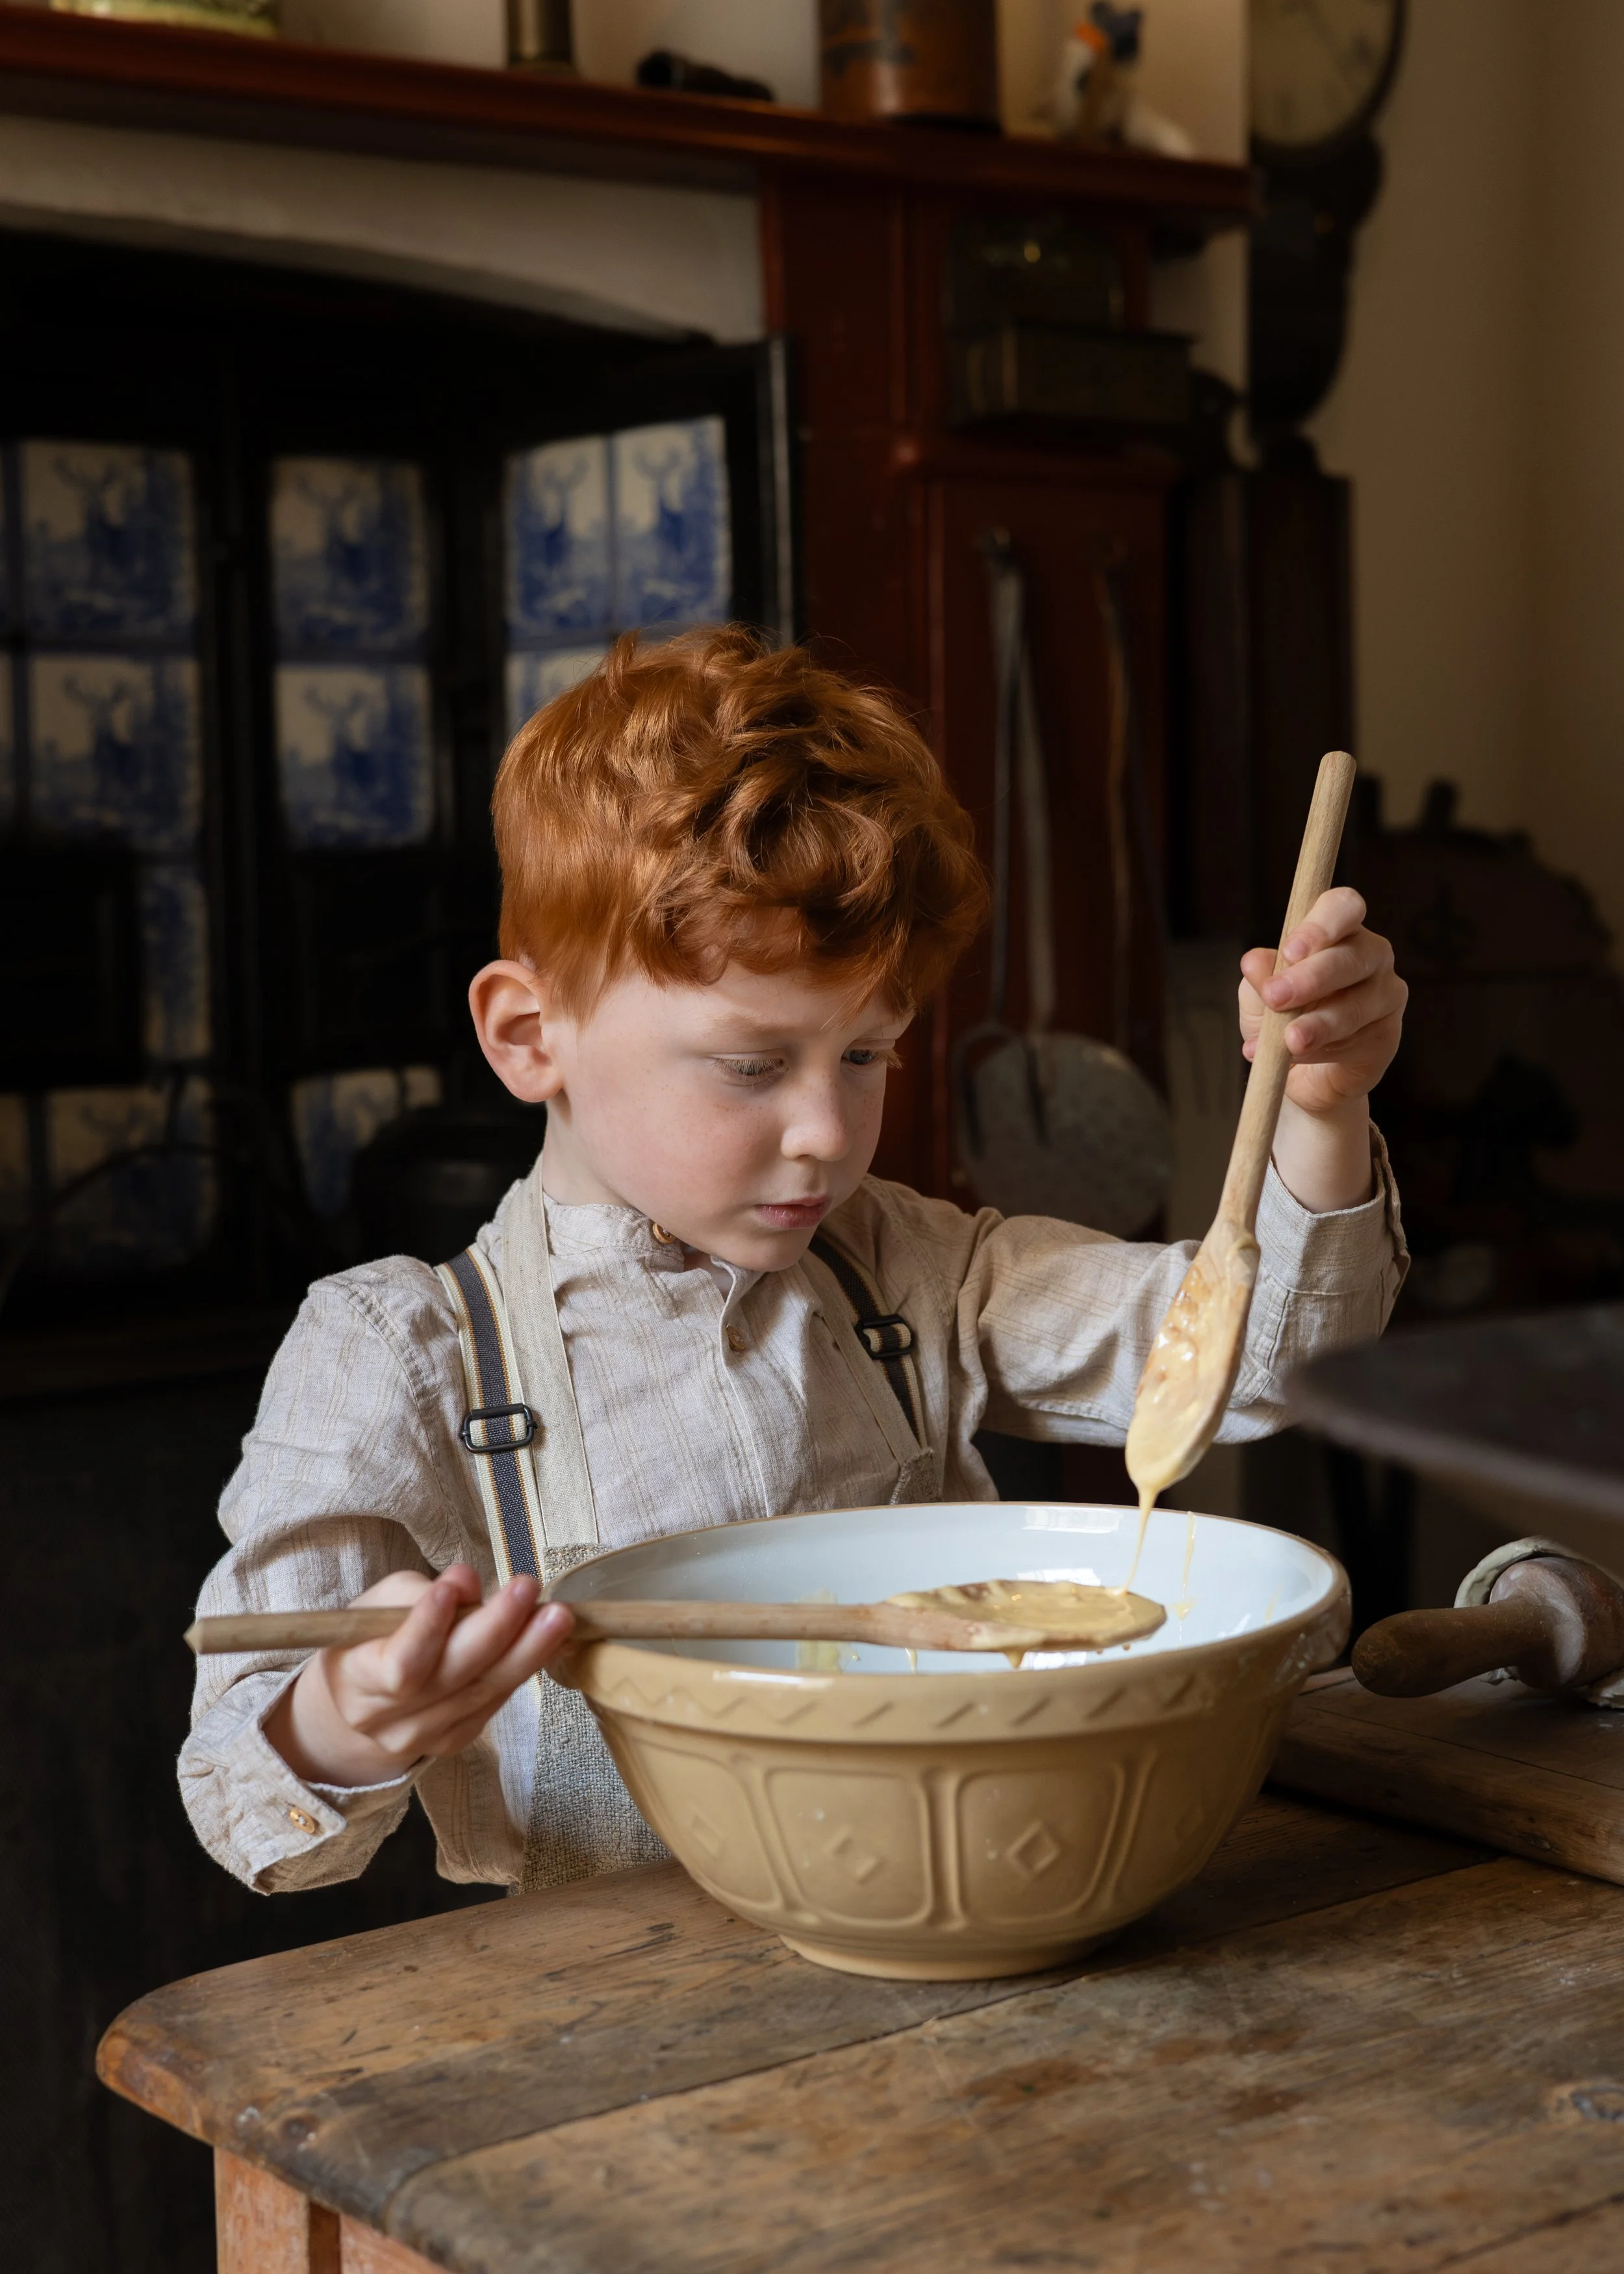
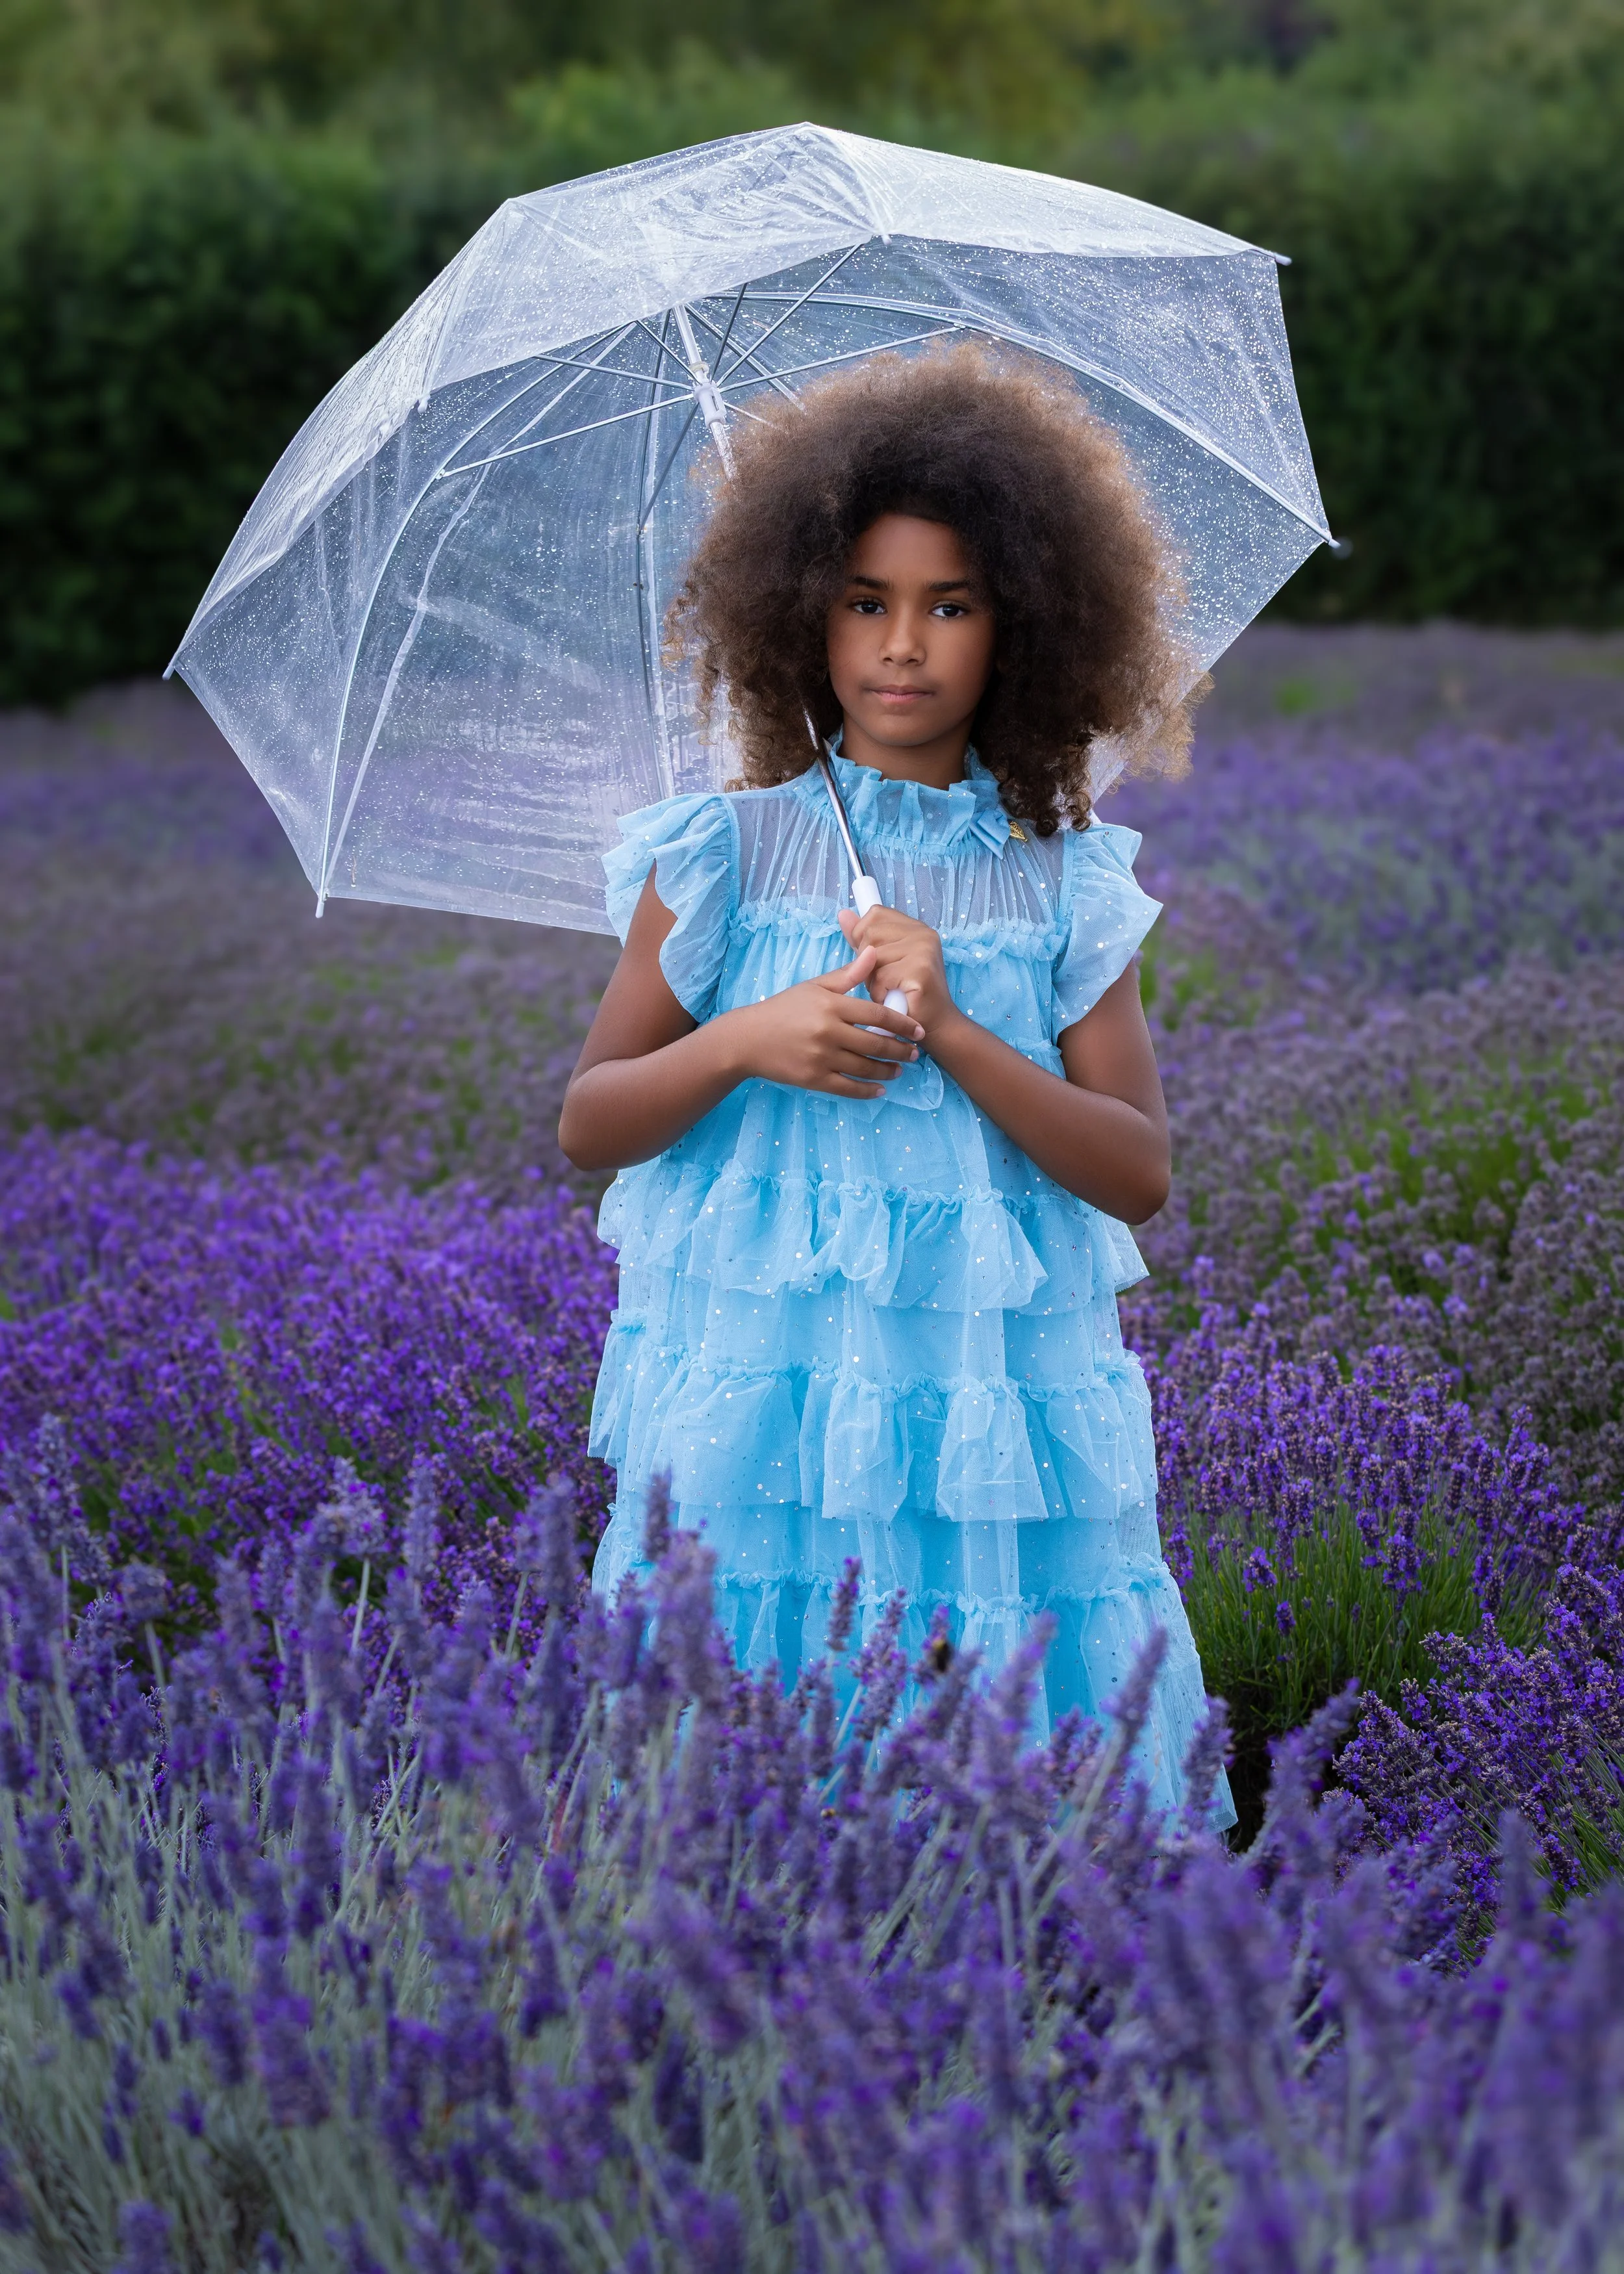
Location scouting is a huge part of creating cinematic portraits. I’m constantly looking around Gloucestershire and the Cotswolds for spaces with atmosphere, storytelling potential or maybe just somewhere unique that reminds me of a film/story.
Sometimes that’s simple locations like woodland or fields with little hideaways or magical looking spots. Other times it’s historic buildings, vintage interiors, museums, seasonal setups or cosy indoor spaces.
When choosing locations, I’m not only thinking visually. I’m also thinking practically about each child.
Questions I ask include:
Will this location feel overwhelming?
Is there room for movement and breaks?
Is it noisy or busy?
Is there shelter if needed?
Is the environment itself interesting enough to encourage natural interaction?
The best images usually happen when children feel relaxed enough to genuinely engage with the space around them.
Step Five — Sourcing Props & Styling
Once the location and concept are planned, I begin sourcing props and styling pieces that help bring the story together. Sometimes this involves vintage props, old books, lanterns, wooden toys, seasonal decorations or character specific items if I’m creating a concept around a known character or their world. Tiny details often help make an image feel believable and immersive. I’m always thinking about how everything within the frame contributes to the final mood of the photograph. I often create my own props or outfits to bring my ideas to life (which I mostly just make up how to do so as I go along - I am awful with a sewing machine but I often give it a go anyway).

Step Six — The Shoot Day Itself
Although the sessions are heavily planned visually beforehand, the actual shoot itself is very relaxed and child-led. This is where many parents are surprised.
I rarely heavily pose children. Instead, I create environments where they can naturally interact, explore, play and engage with the space around them.
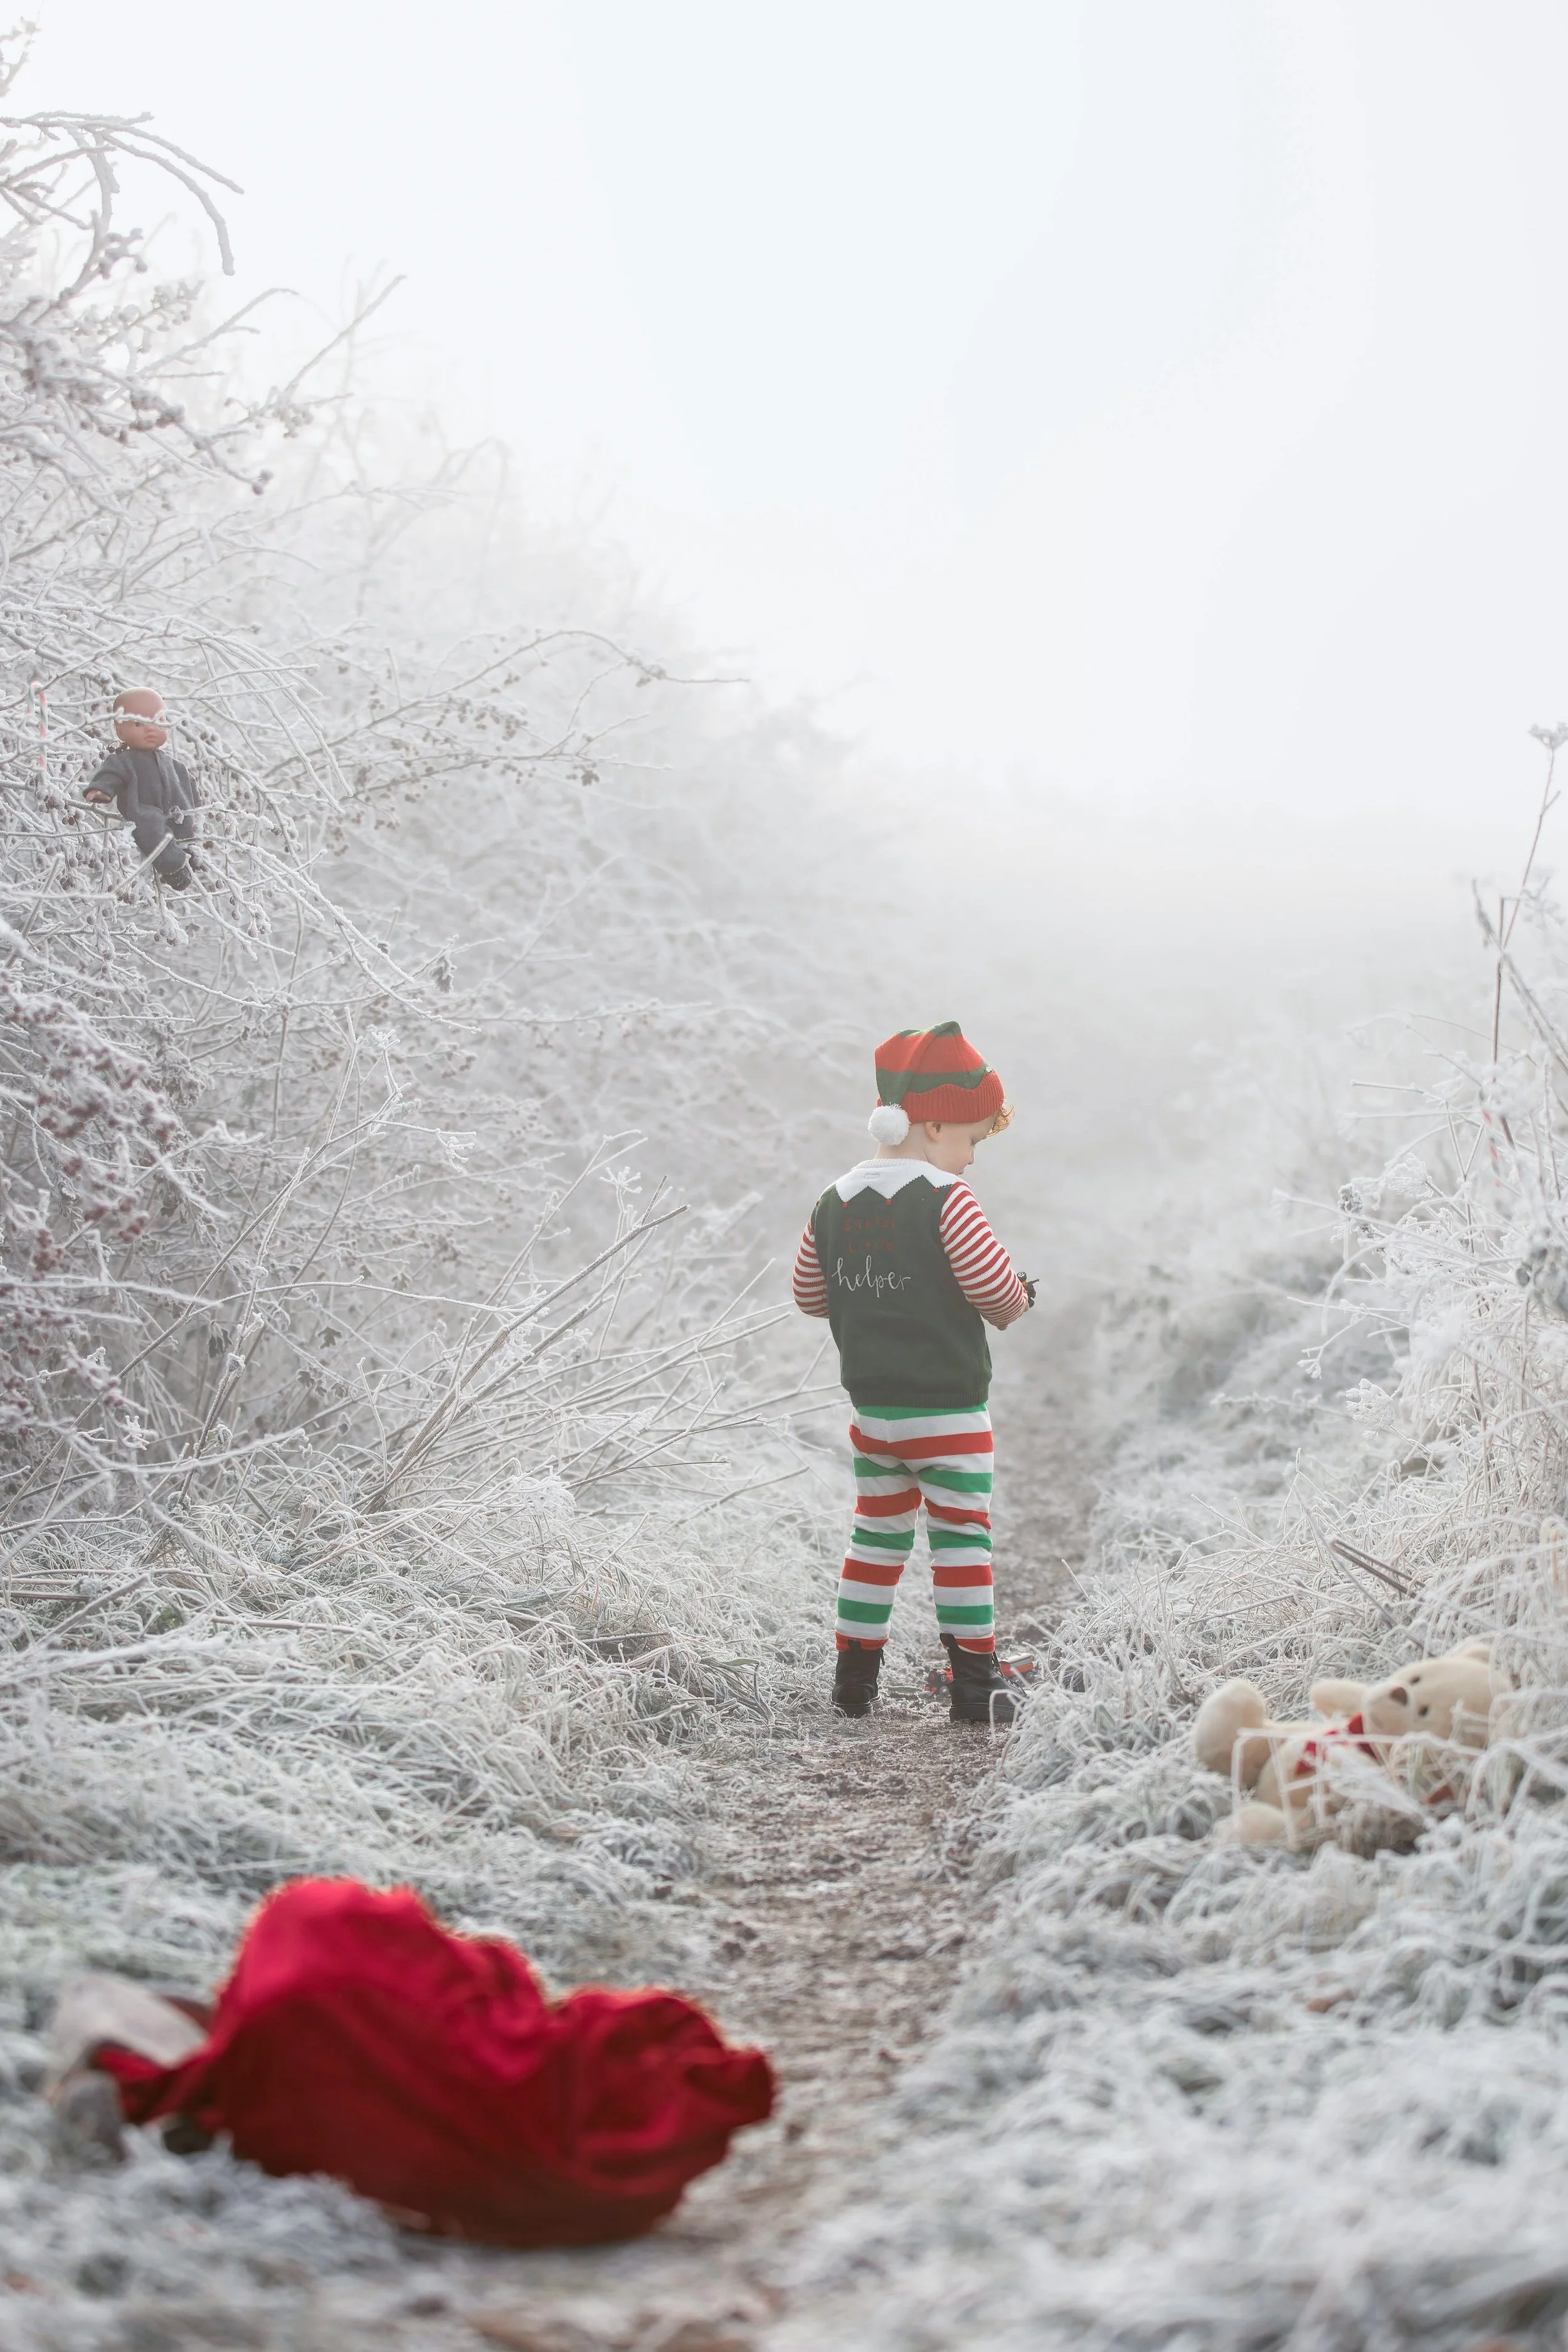
That might mean thing like pretending to make magical potions or wandering around an old house imagining they are back in time, interacting with old toys or electronics or watching imaginary snowfall. Some children instantly engage. Others need time. Some want constant movement. Some need breaks. Especially within sensory-friendly sessions, flexibility matters far more than rigid plans. The session always follows the child’s pace. Often the strongest images happen between the planned moments anyway.
Step Seven — Editing The Images Into Fine Art Portraits
Once the session is complete, the editing process begins. This stage takes hours of work.
I carefully edit each final image in my signature fine art style by shaping tones, enhancing colour, refining light, removing distractions, adjusting atmosphere, and focusing on tiny details that strengthen the storytelling within the portrait. Sometimes I deepen shadows to create cinematic mood. Sometimes I soften colours for nostalgia. Sometimes I enhance weather effects like fog, snowfall, warmth, or glowing light to make the image feel more immersive. I also remove distractions and blemishes that pull focus away from the subject while still keeping the portraits natural and emotionally connected.
The goal is never to overly change my model. It’s to turn genuine moments into artwork that feels timeless, cinematic and full of atmosphere.
Step Eight — Delivering The Final Gallery
Once editing is finished, families receive a private gallery where they can view and select their final images. Photographs can then be downloaded digitally or transformed into unique pieces of wall art designed to be displayed at home.
I always want the final images to feel like something families genuinely treasure rather than files forgotten on a phone. But equally important to me is the experience itself. I want children to leave sessions feeling like they explored somewhere magical, played imaginatively, or experienced something fun, not like they were forced through a stressful photoshoot.
That philosophy is the entire reason I started creating sessions this way in the first place. Traditional photography doesn’t work for every child. And honestly, I don’t think it has to. Some of the most beautiful portraits happen when children are simply allowed the freedom to interact with a space naturally, follow their curiosity and experience the session in their own way. Rather than controlling every pose or expression, I create the initial idea atmosphere and world around them, then allow each child to lead the interaction from there.
I simply adapt around whatever unfolds naturally within the moment and that’s usually where the most genuine, cinematic images are created.